

How to grind and polish a concrete floor
Grind, fill, densify, polish, then seal: the order of work, the tooling for each step and the grinder for the floor.
Concrete Care. Last updated 2026-10-22.
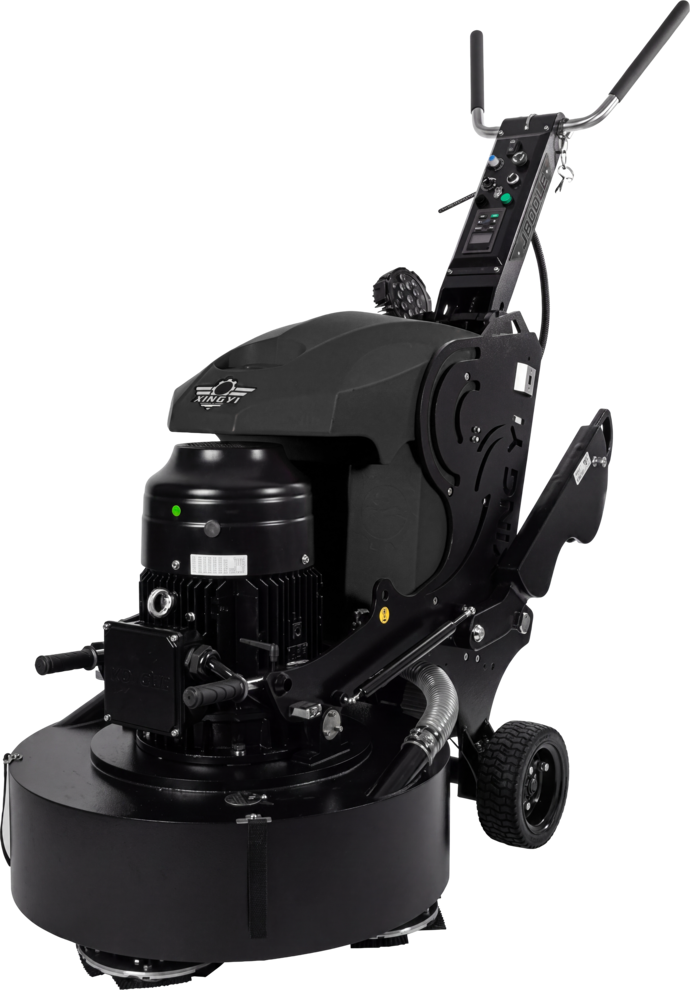
A polished concrete floor is a sequence: grind with metal-bond diamonds, fill holes and cracks, densify, polish up the resin grits, then seal and burnish. For each step: what to fit, what to watch for and when to move on, with the grinder choice at the end. Tooling is in Floor Grinders and Polishers and Diamond Polishing and Maintenance Tools.
Before you start
Check the slab before you load the grinder. The hardness of the floor decides the metal bond: hard floor, soft bond; soft floor, hard bond. A bond that suits the floor wears back at the right speed, so fresh diamond keeps cutting.
Paint, epoxy or adhesive on top comes off first, with polycrystalline diamond (PCD) tooling. PCD is graded by tool geometry, not by a grit number. The PCD tools are in Metal Bond Diamond Tools.
If an old coating could contain asbestos, treat it as if it does and have it tested before any grinding. Employers have a legal duty to identify it first (S.I. No. 386 of 2006, reg. 12).
A planetary grinder stops 100 to 300 mm short of every wall, so the margin is hand-held work: an angle grinder and a variable-speed polisher (see the machine table below). No walk-behind machine does stairs, so stairs are hand-held work too. New concrete needs 28 days to cure before the sealer goes on (Seal and burnish, below).
Dust and safety
Grinding concrete releases respirable crystalline silica (RCS). The limit is 0.1 mg per cubic metre over 8 hours, set in the HSA Code of Practice 2026 under S.I. No. 122 of 2024 as amended.
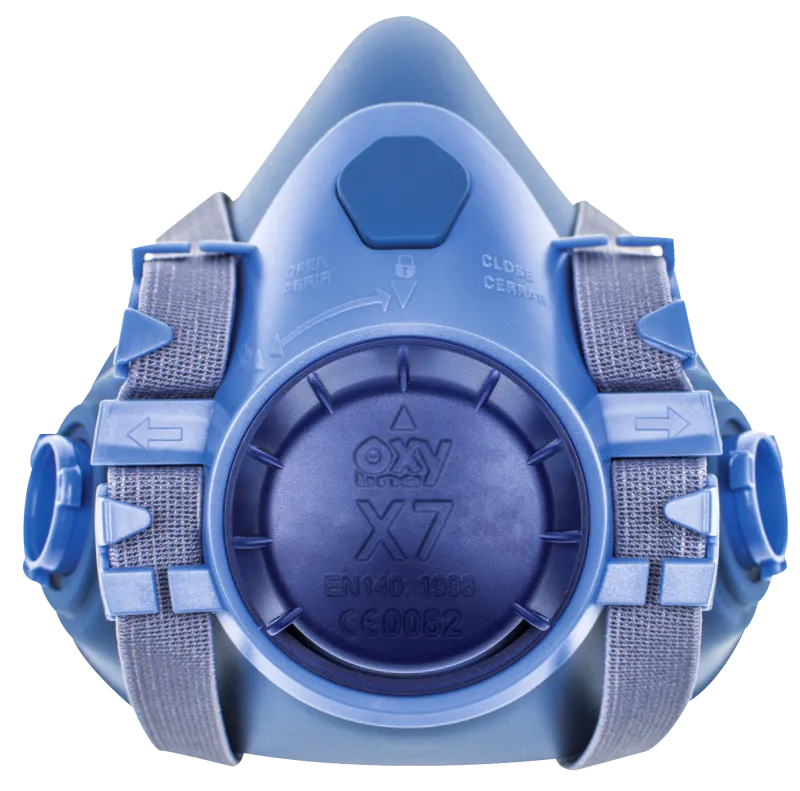
Wear a respirator (RPE) while grinding: a disposable FFP3, or a half or full face mask with a P3 filter, as the HSA lists. Add eye and ear protection, and goggles and gloves when you handle the densifier and sealer.
Dry or wet grinding
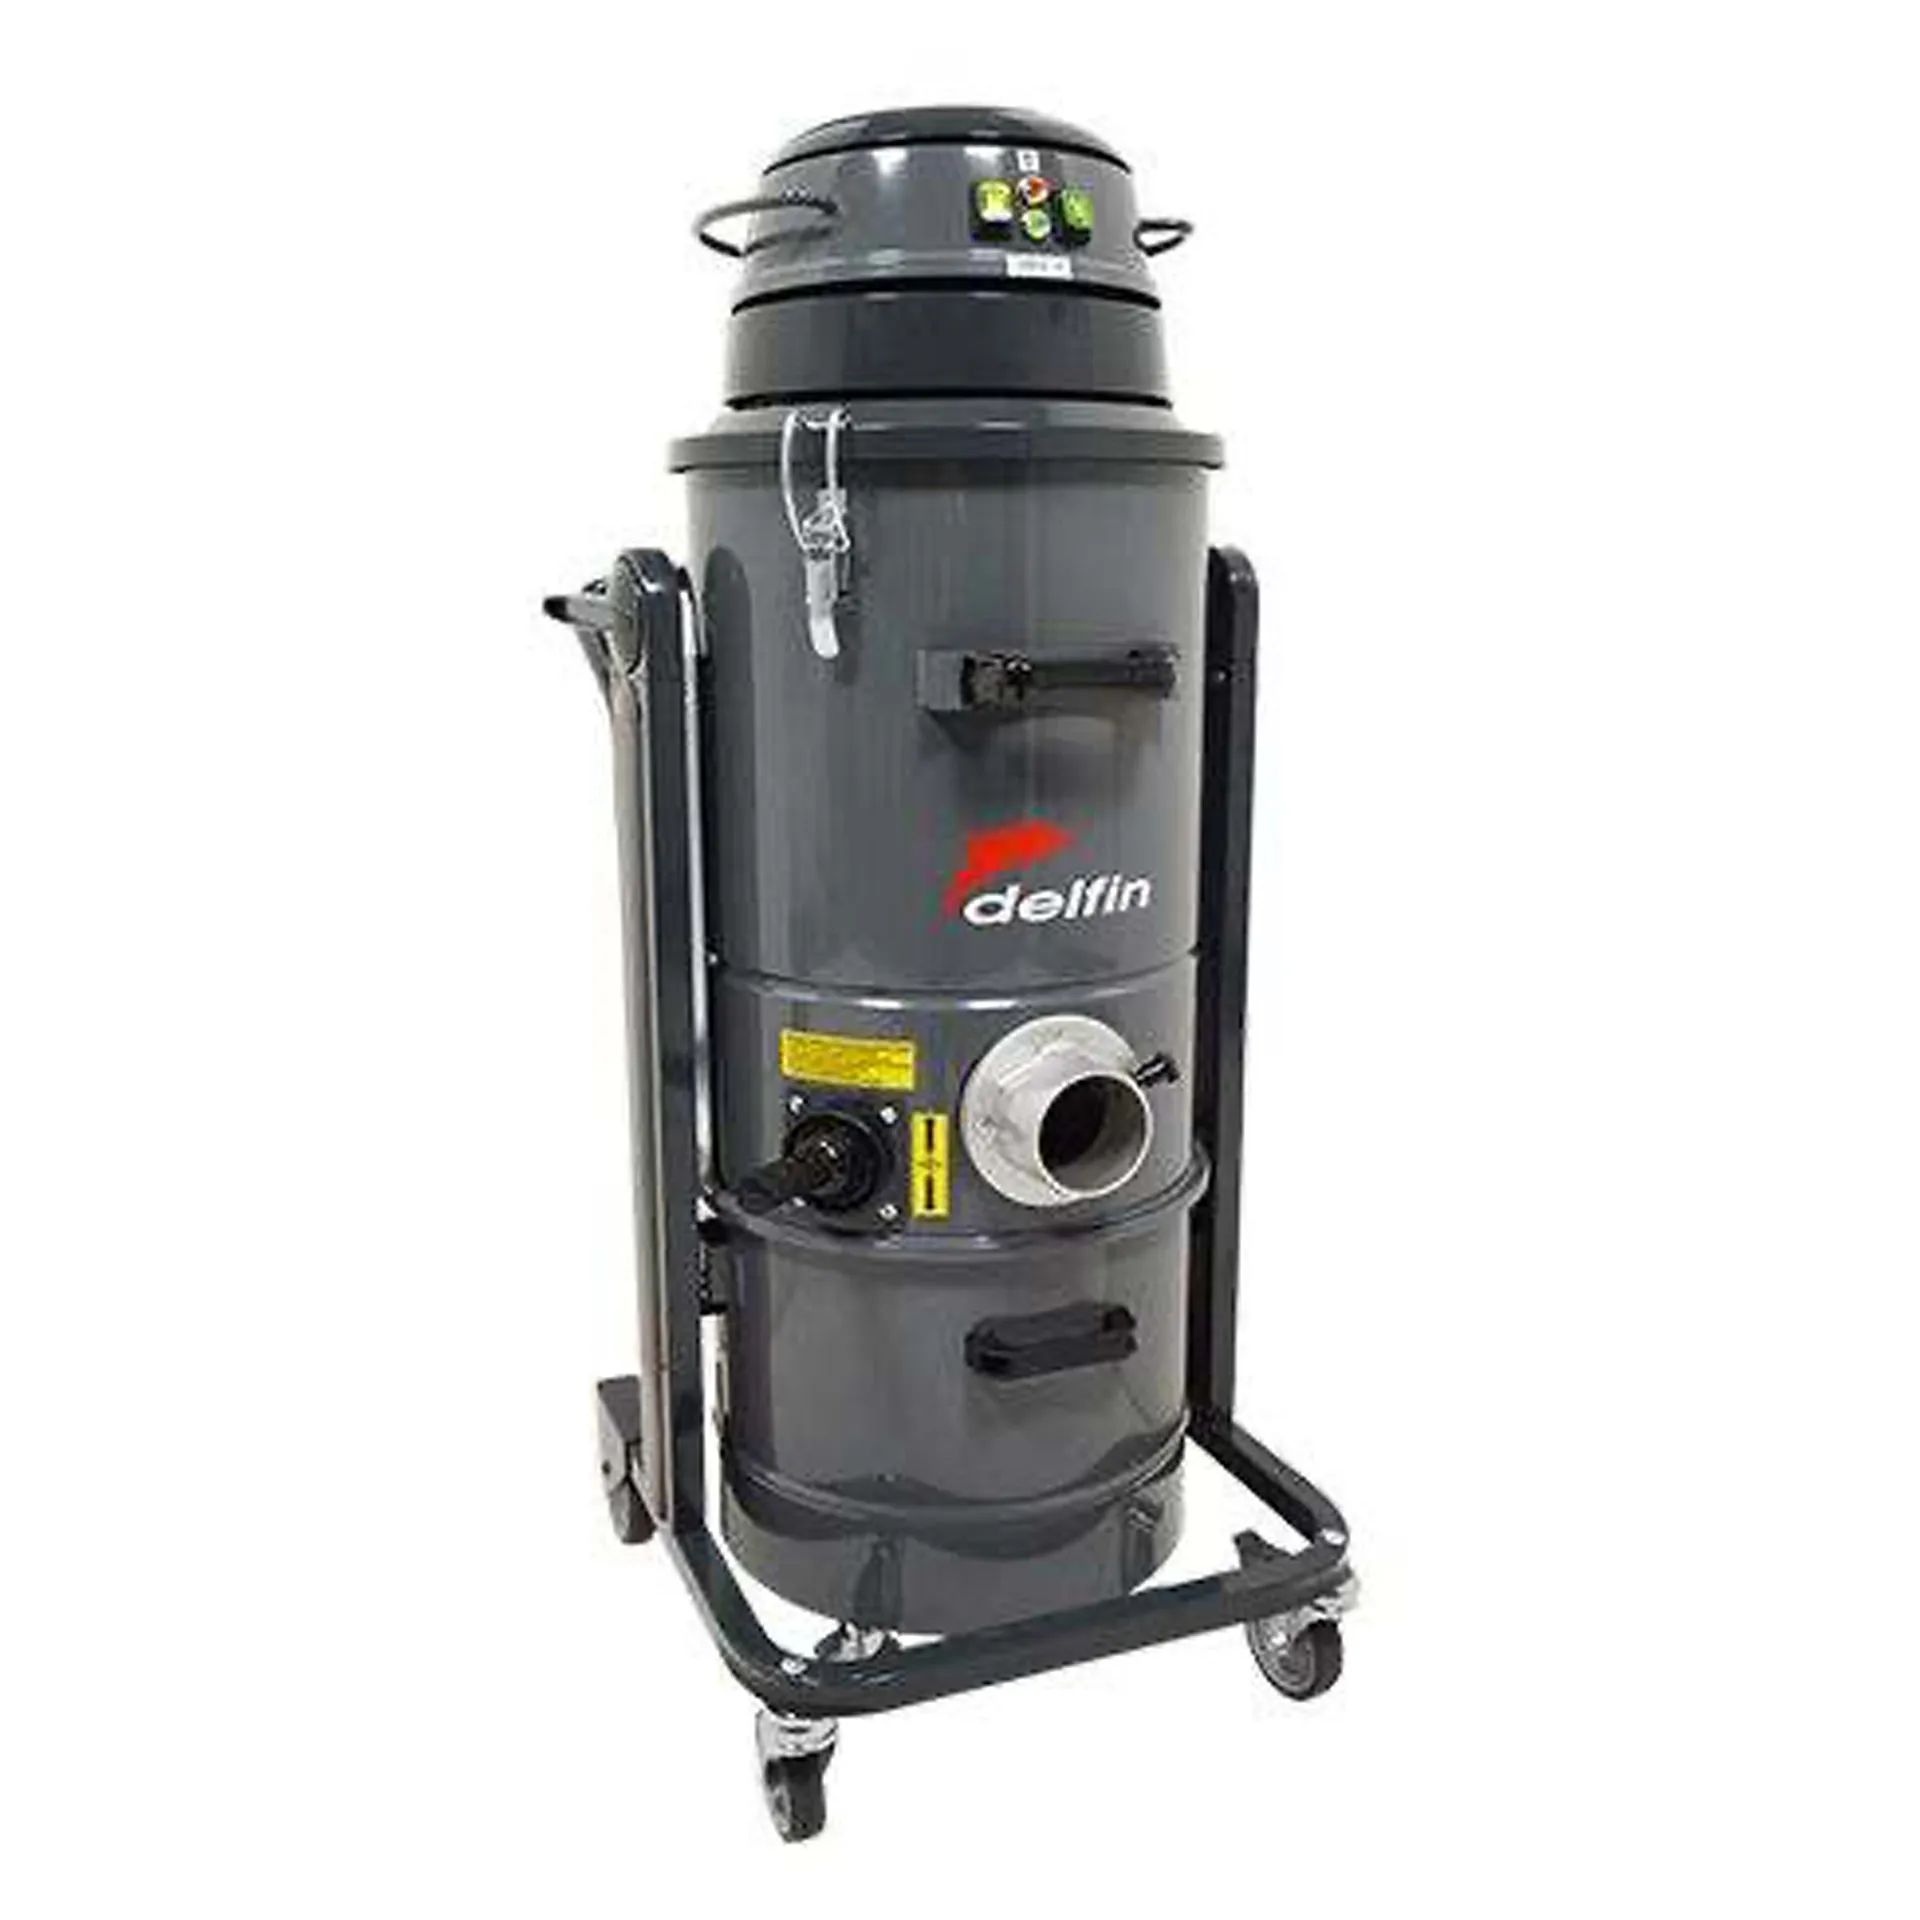
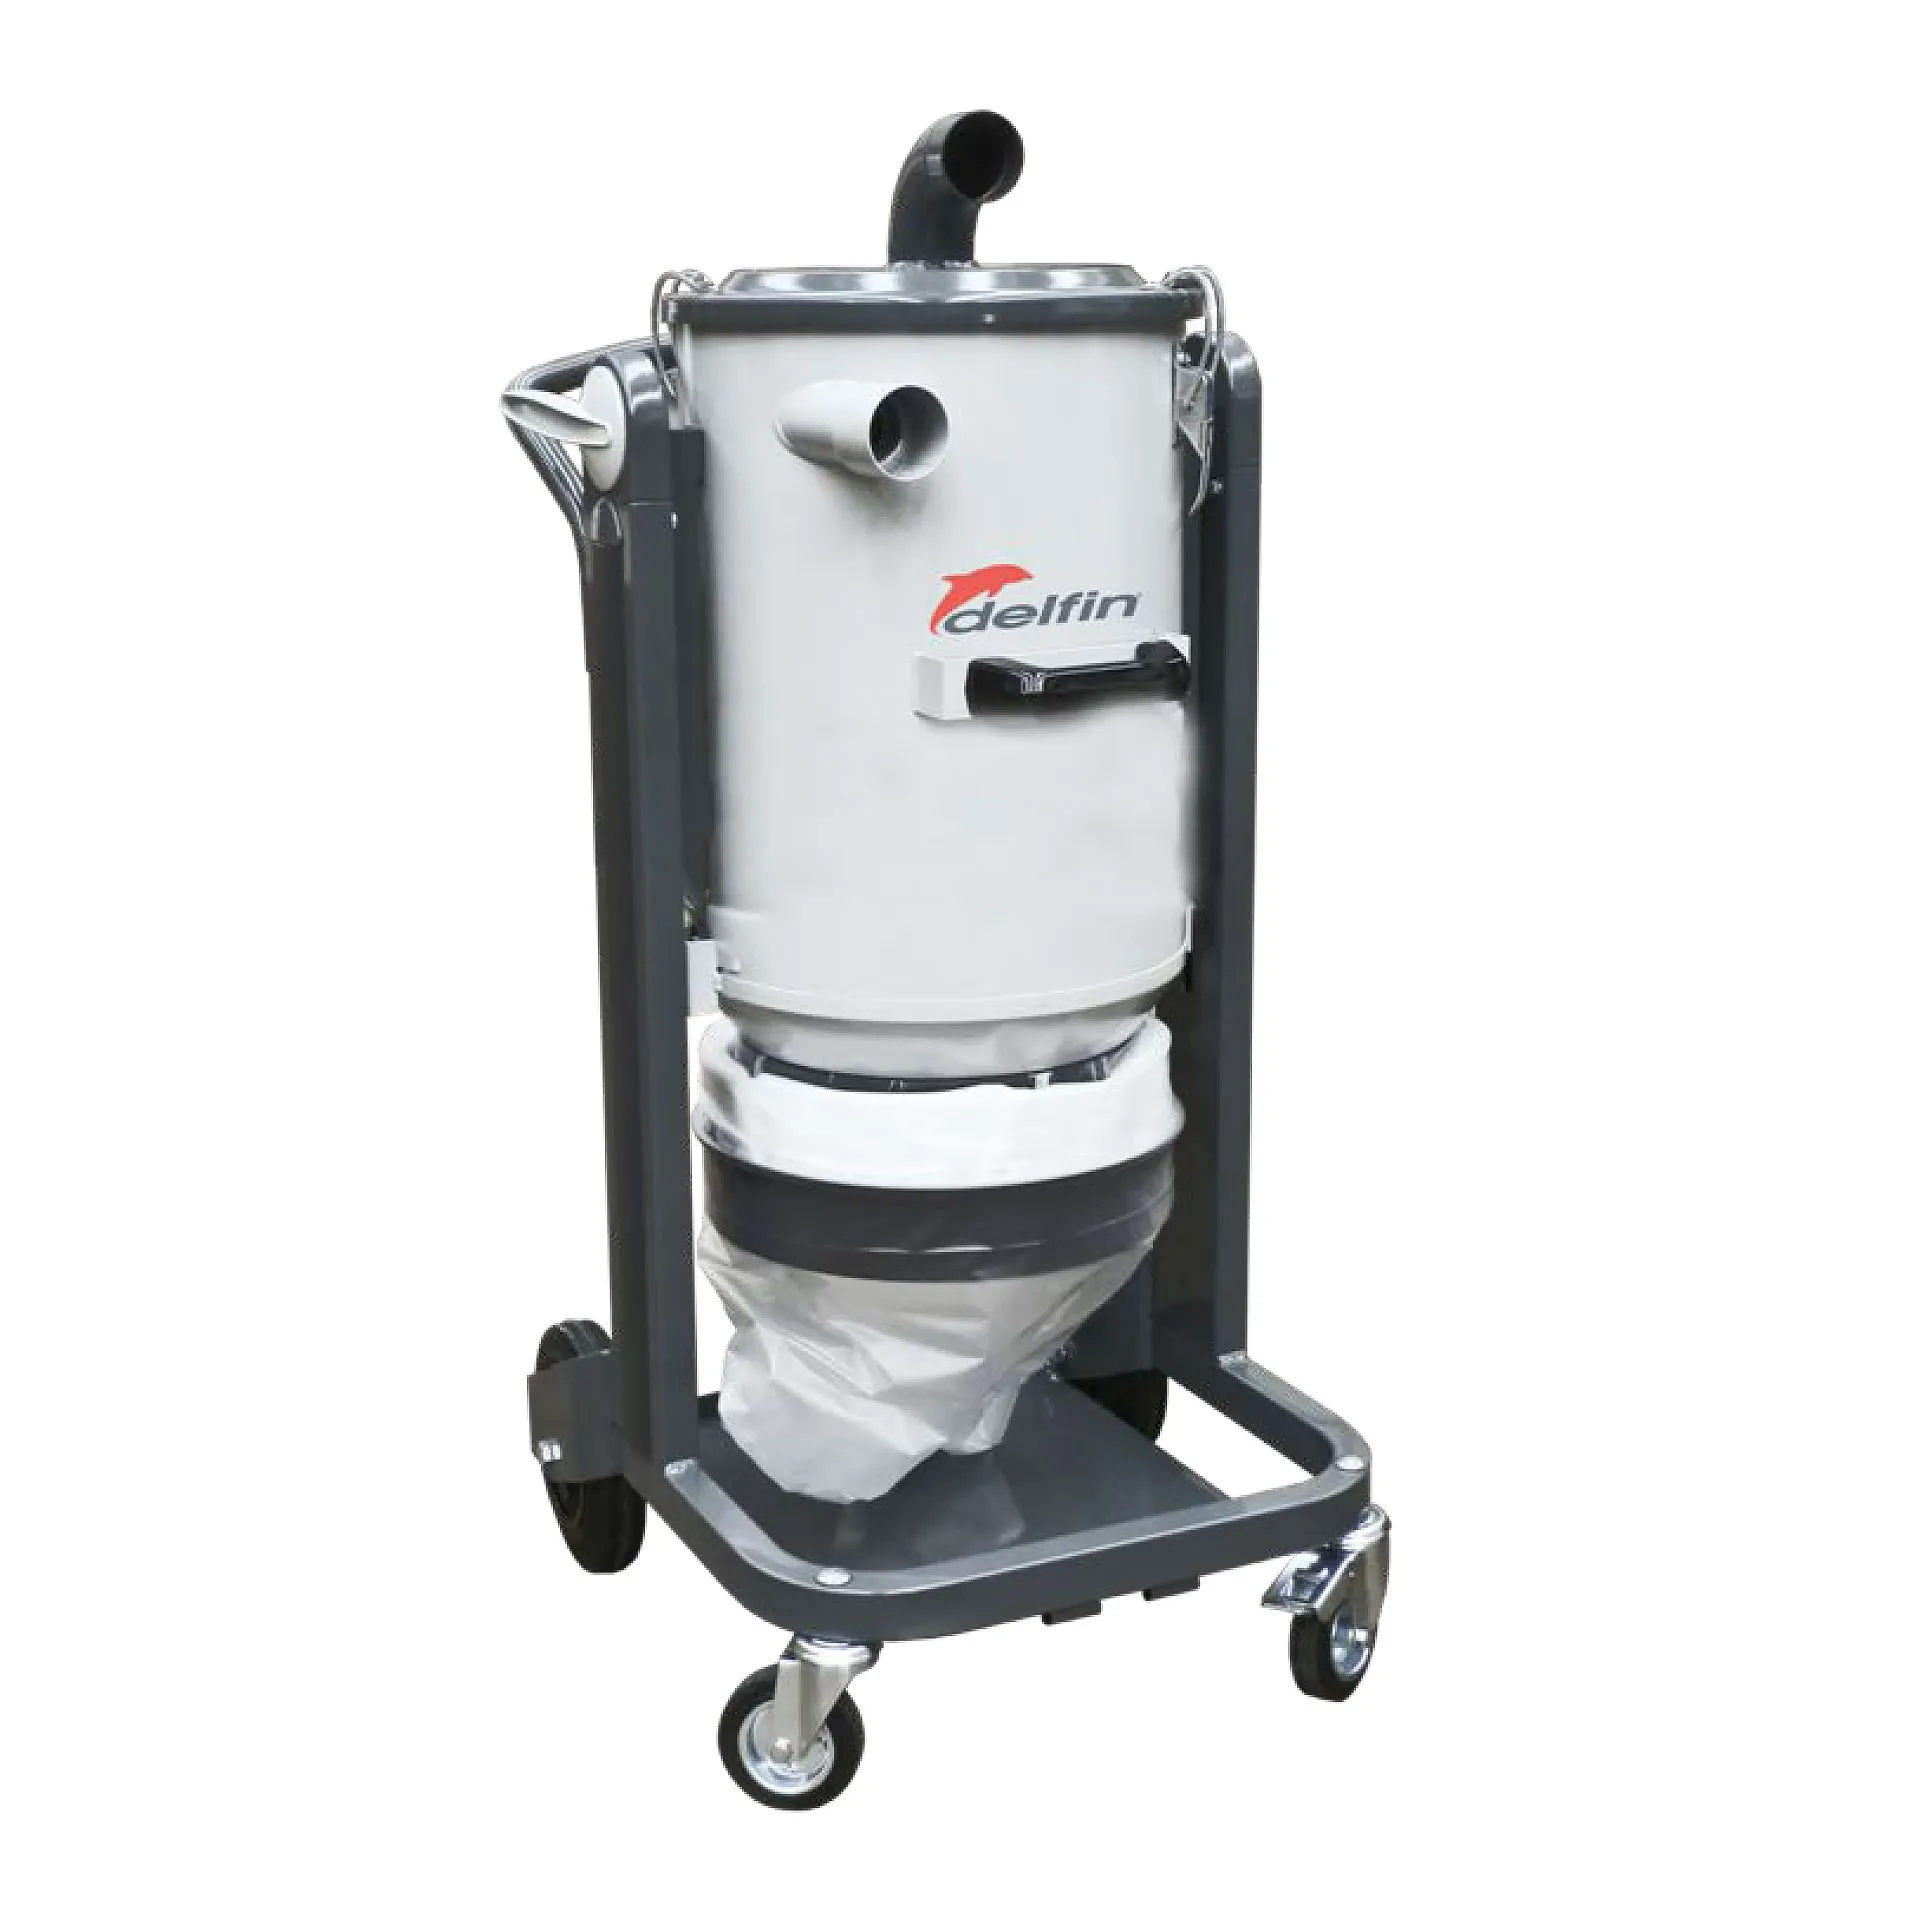
Dry grinding gives the better finish on the floor. It needs an M-class dust extractor on every pass, from Industrial Vacuums and Dust Extractors, and H-class over old coatings of unknown make-up.
Wet grinding trades dust for slurry. The slurry is a slip hazard and should not go down the drain.
Grind with metal bond
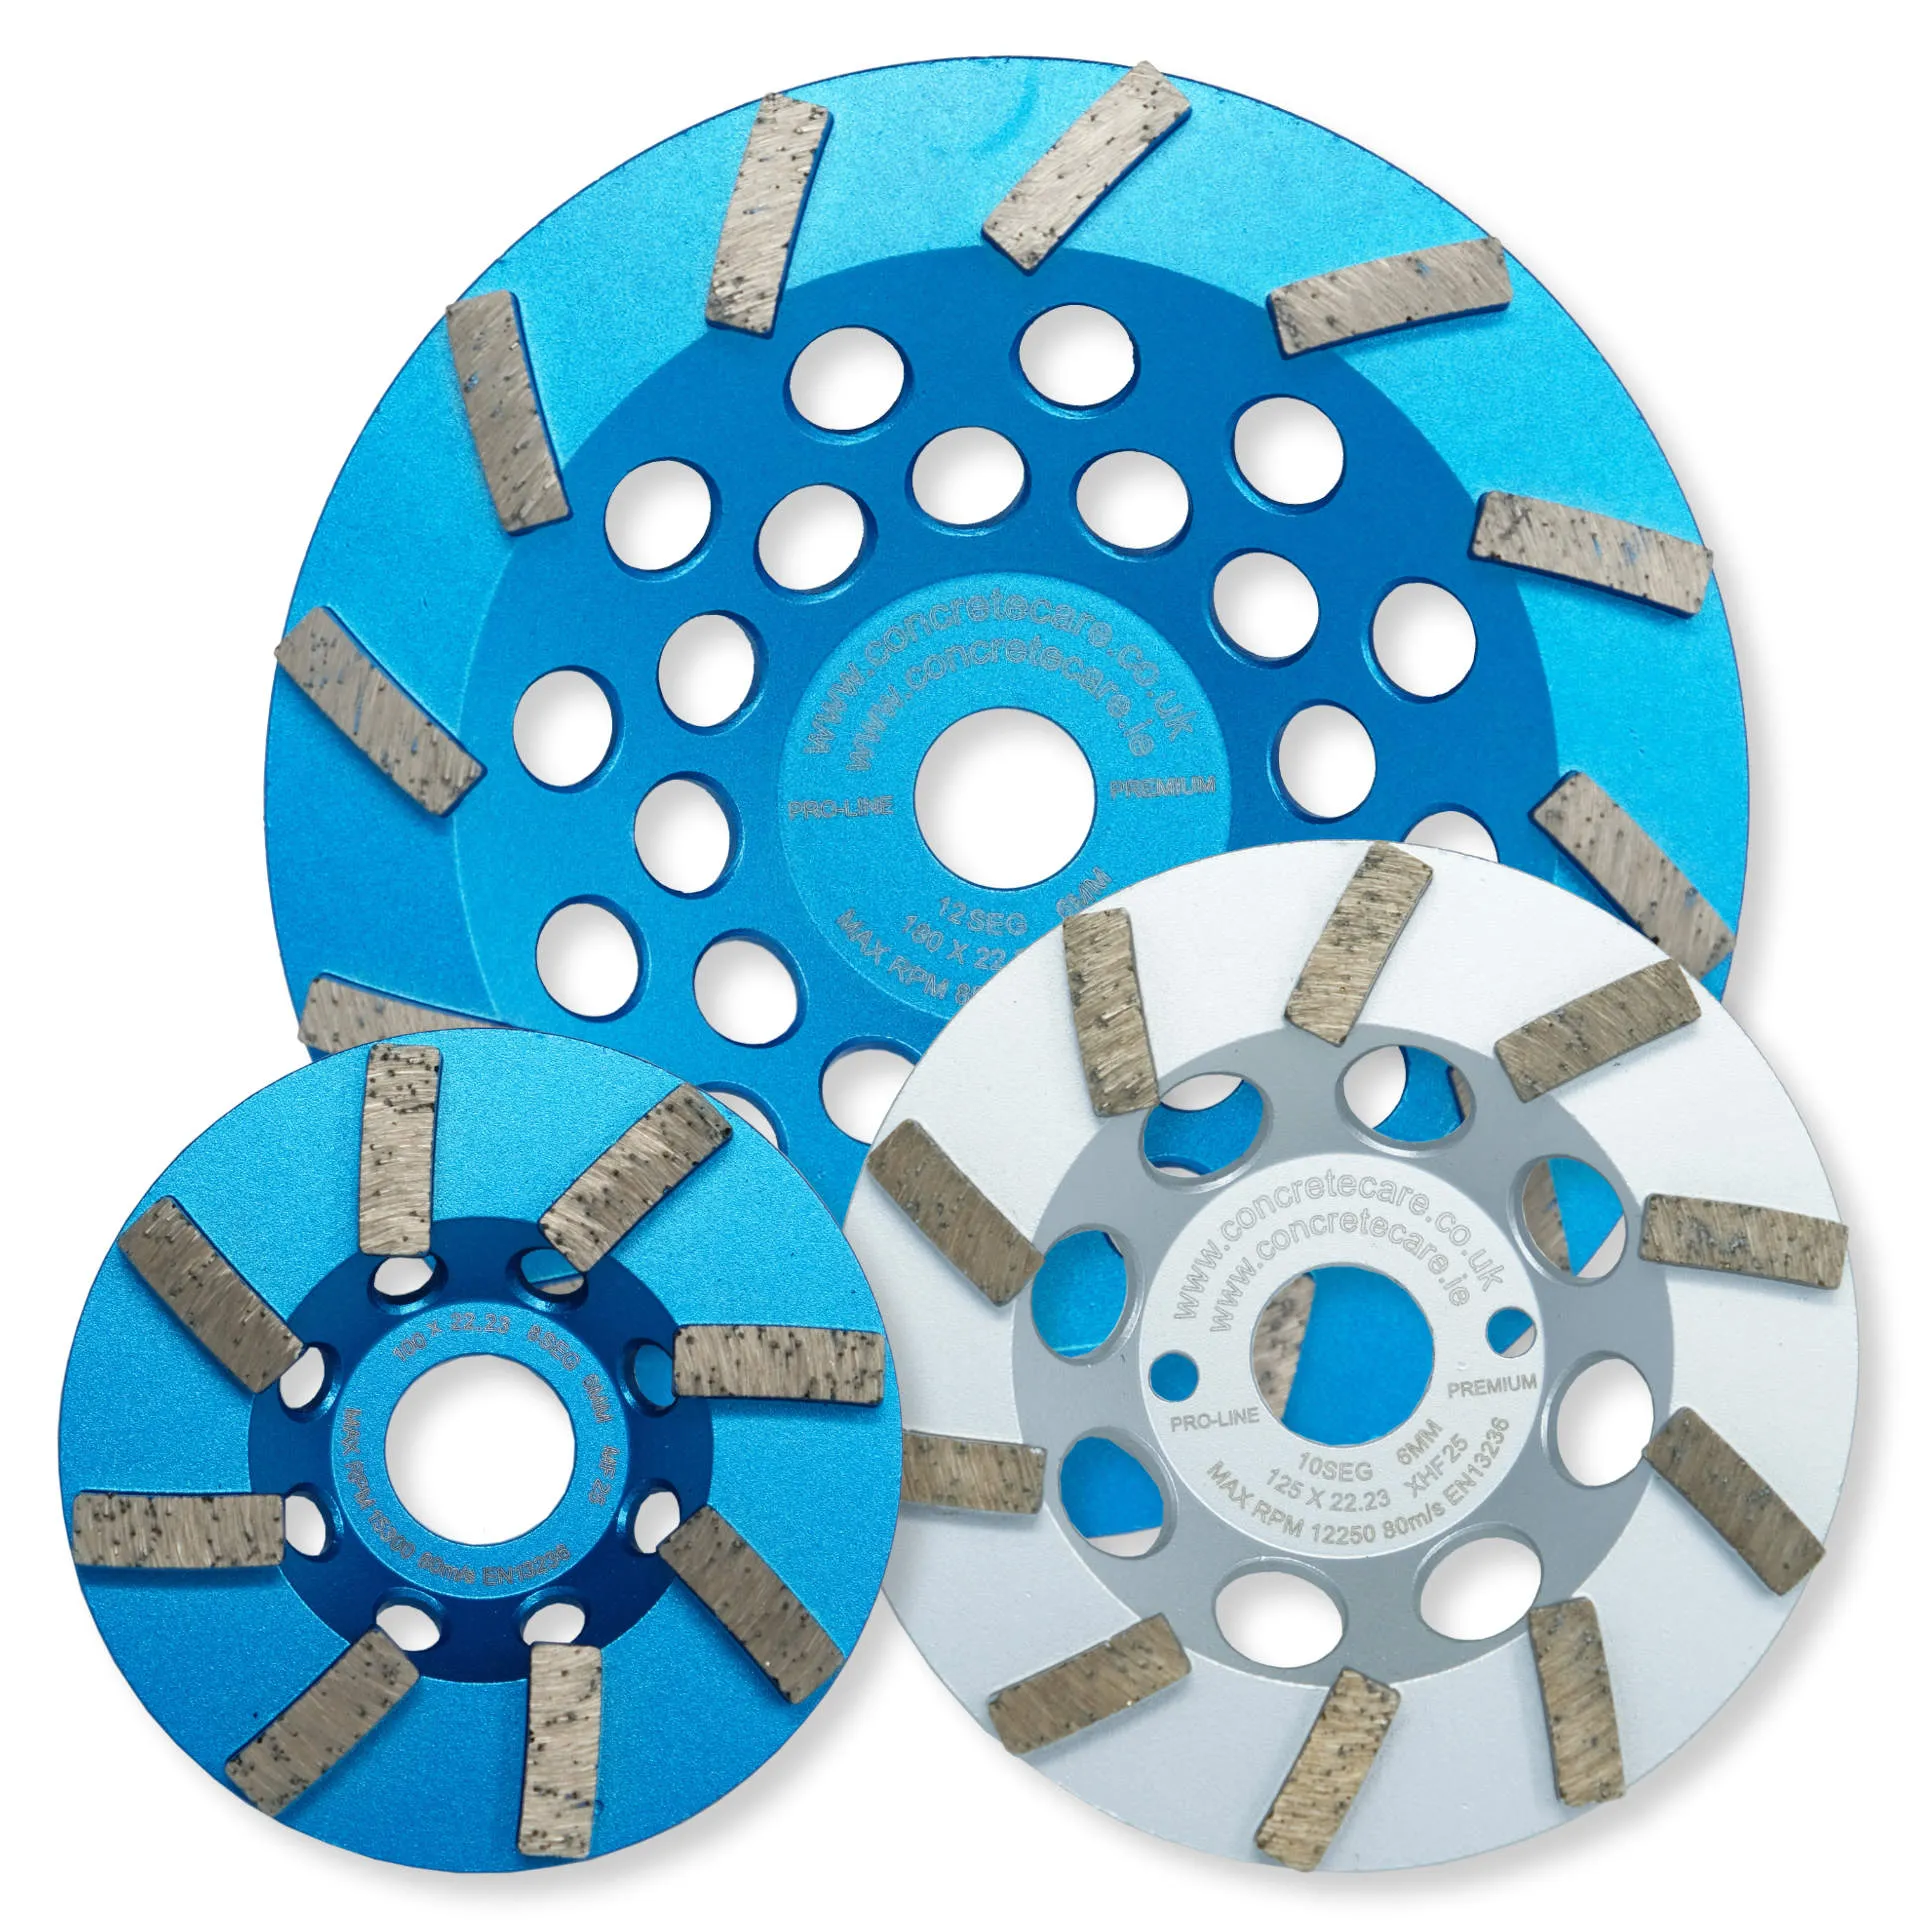
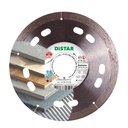
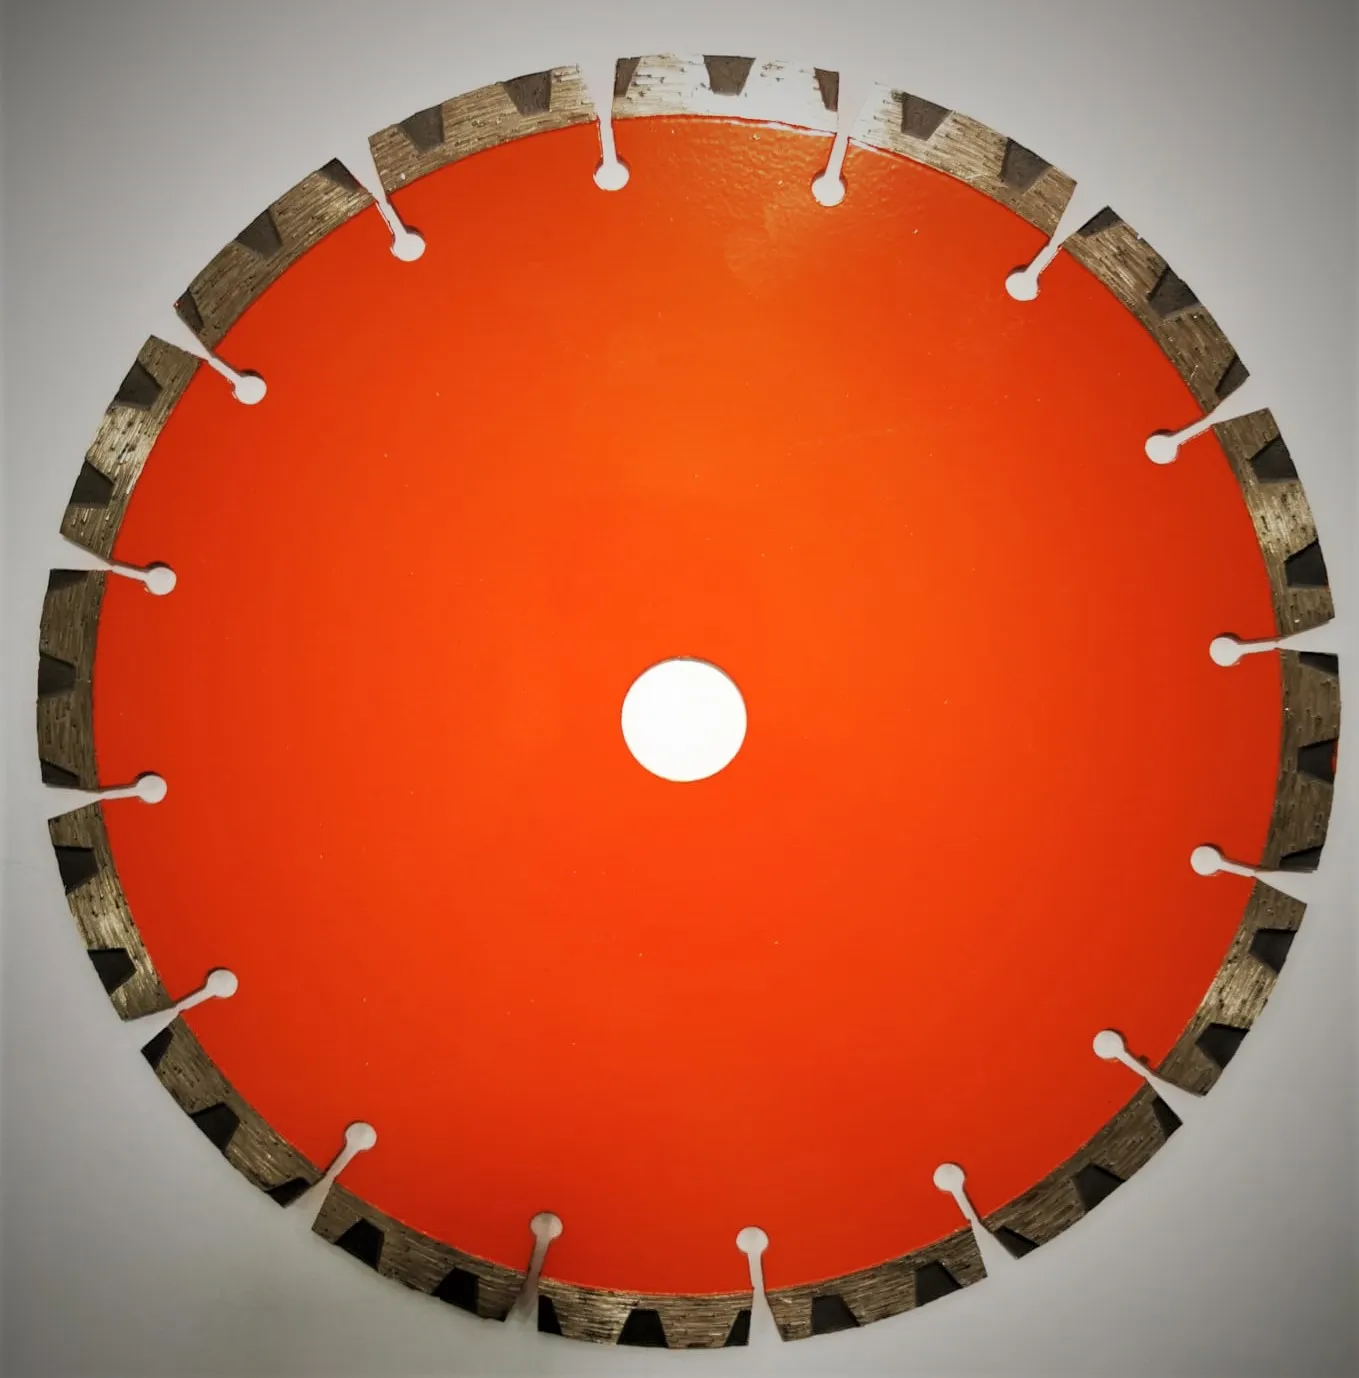
Fit Easy Fit metal segments in the bond that matches the floor. They come in six bonds from extra-extra-soft floor (XXSF) to extra-extra-hard floor (XXHF). Grind at 30, then 80; fill cracks and holes (next section); then grind at 140. The segments also come in 16 grit, which is for prep contractors laying another system on top. Every planetary grinder in the fleet takes the same Easy Fit tooling on its own carrier plate.
Pick the look before the first pass: cream, salt and pepper, or exposed aggregate. The early metal passes set how much aggregate shows, so the depth of the first grind is the decision.
A grit is done when the scratch from the grit before it has been removed across the whole floor. Then change to the next grit.
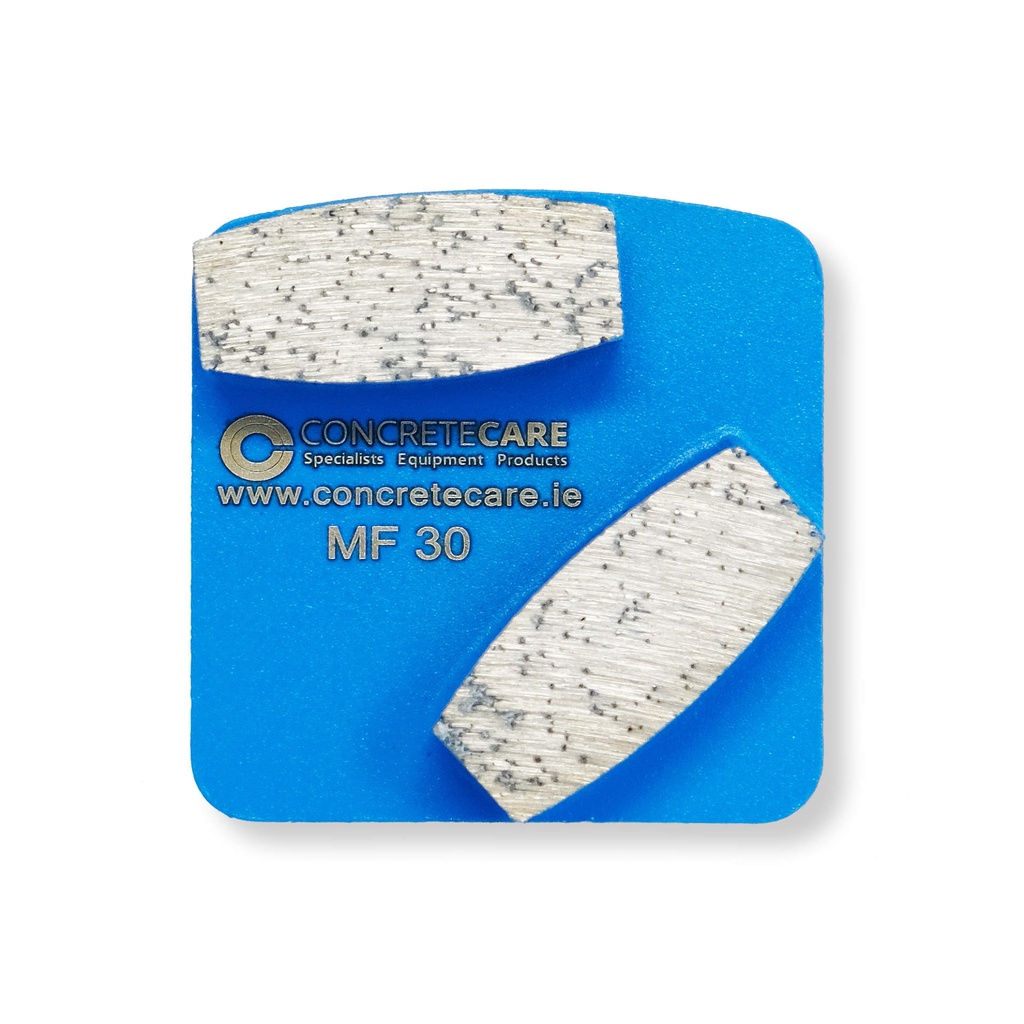
Watch the segments. If they turn smooth and shiny while the machine slides and the dust stops, the bond is glazing: it is too hard for the floor, so go softer. If they wear down in hours, the bond is too soft: go harder.
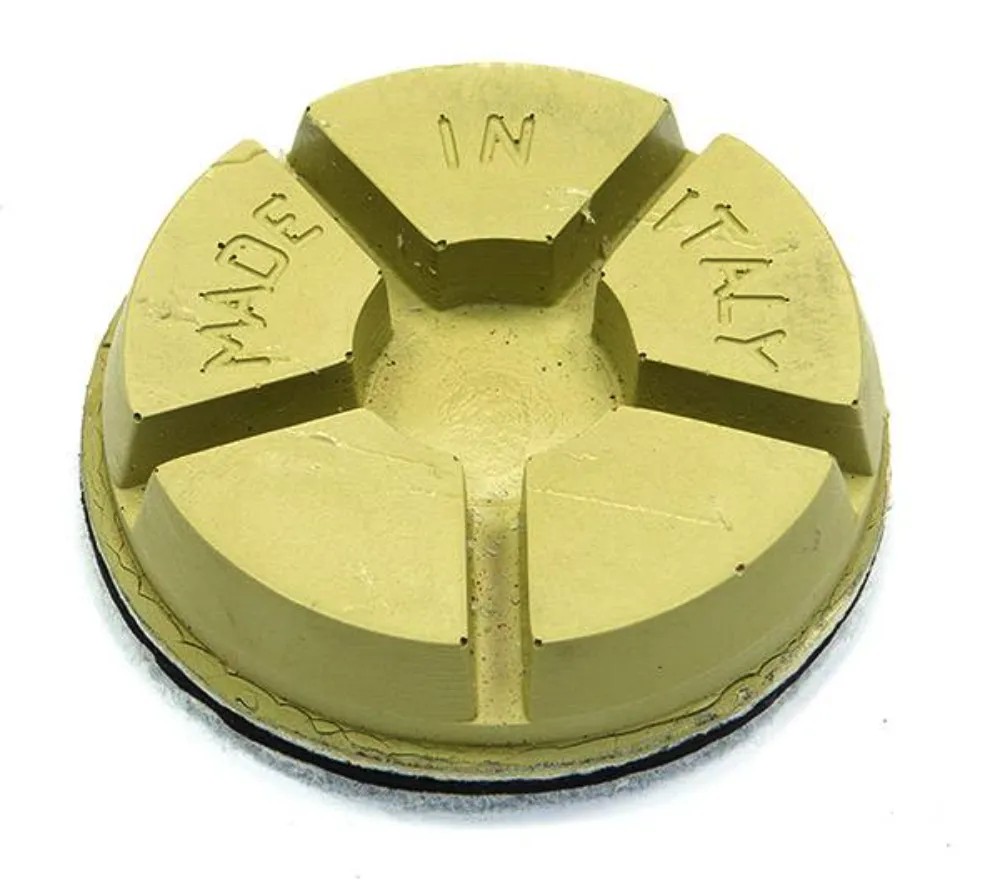
Metal ends at 140. Optional ceramic transitional pucks, 30 to 200 grit, bridge the jump to resin, and follow the same rule: hard floor, soft bond. The soft bond and super hard bond ceramic pucks come in 30, 50, 100 and 200; the Ceramic Bond puck in 100 and 200.
Fill holes and cracks
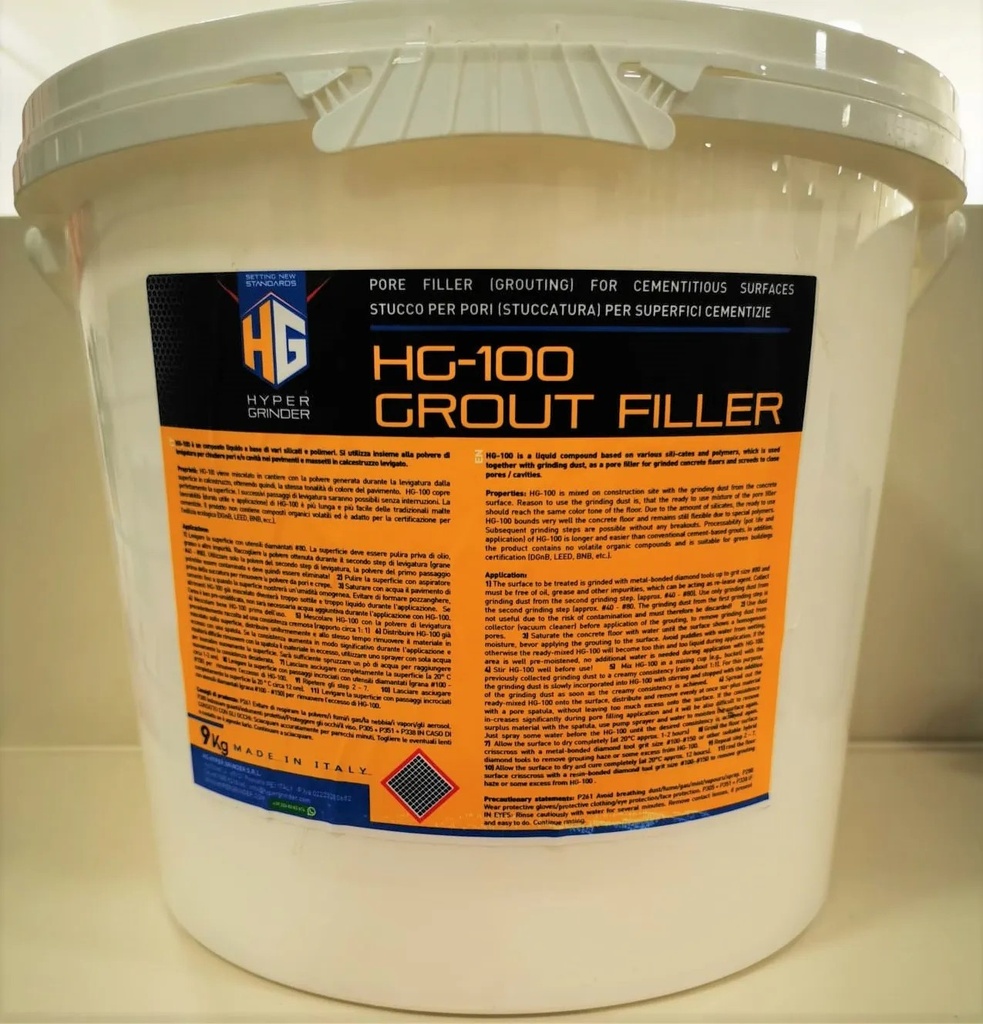
Fill after the 80 grit metal pass, then finish the metal at 140.
Pores and fine cracks: Hypergrinder HG-100 Grout Filler. Mix it about 1:1 with clean dust from the 80 grit pass, never the first pass, so it takes the colour of the floor. It stays flexible, so the next grits grind it without breaking out.
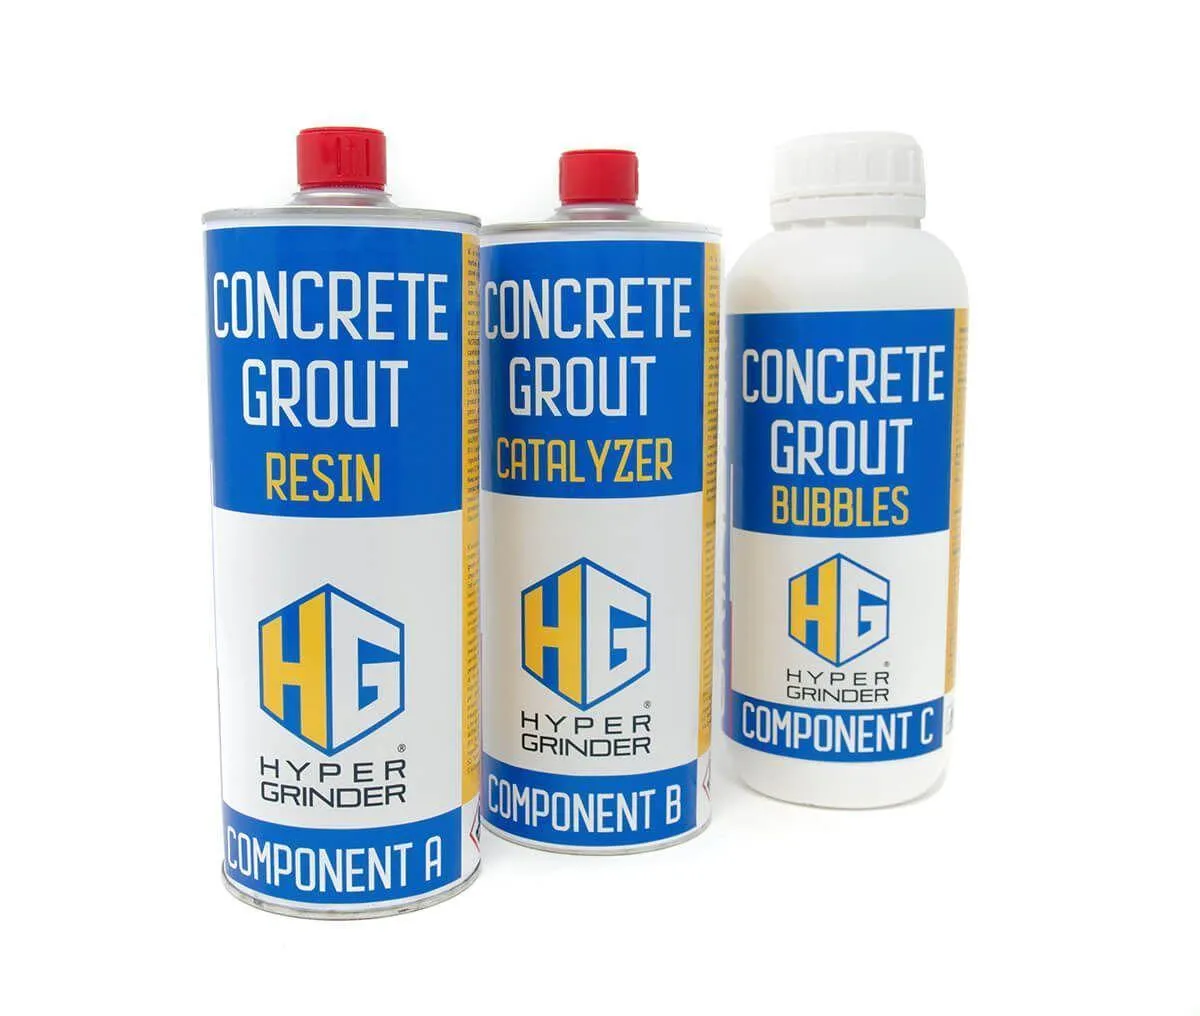
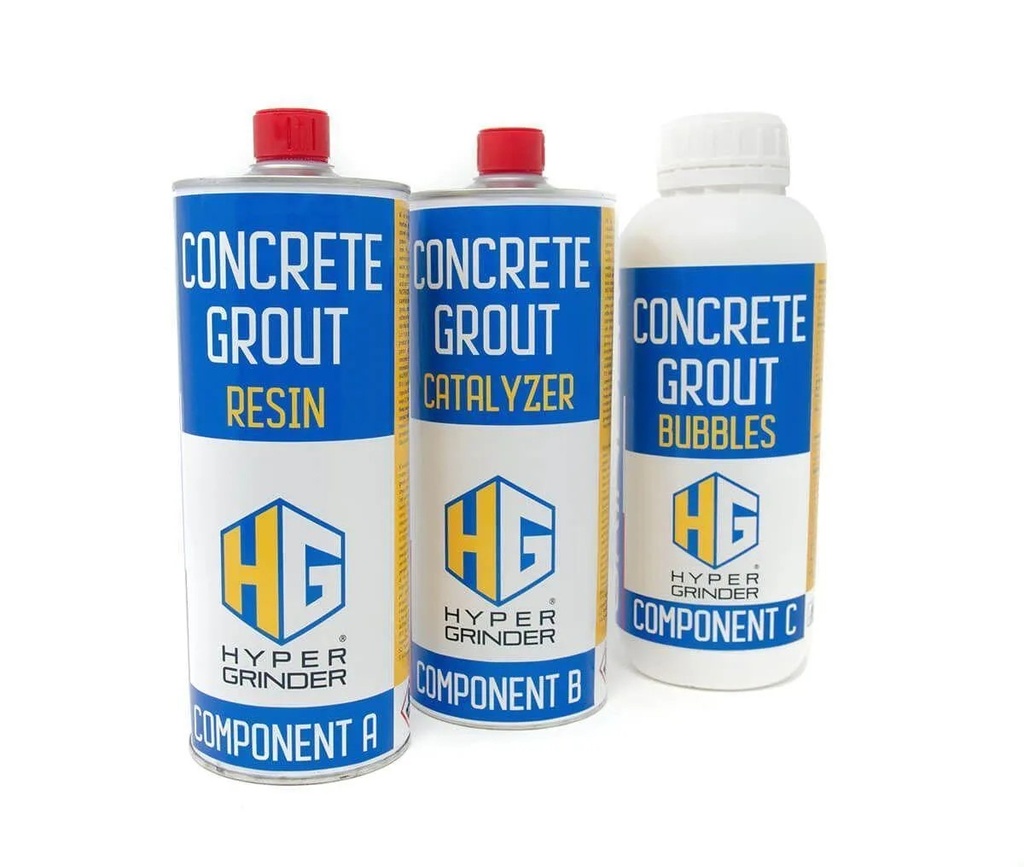
Larger holes and cracks: the Hypergrinder Concrete Grout and Crack Repair kit, a resin, a hardener and filler bubbles. The hardener is a suspected carcinogen and a respiratory and skin sensitiser. Wear the eye, skin and respiratory protection its safety data sheet specifies.
Densify
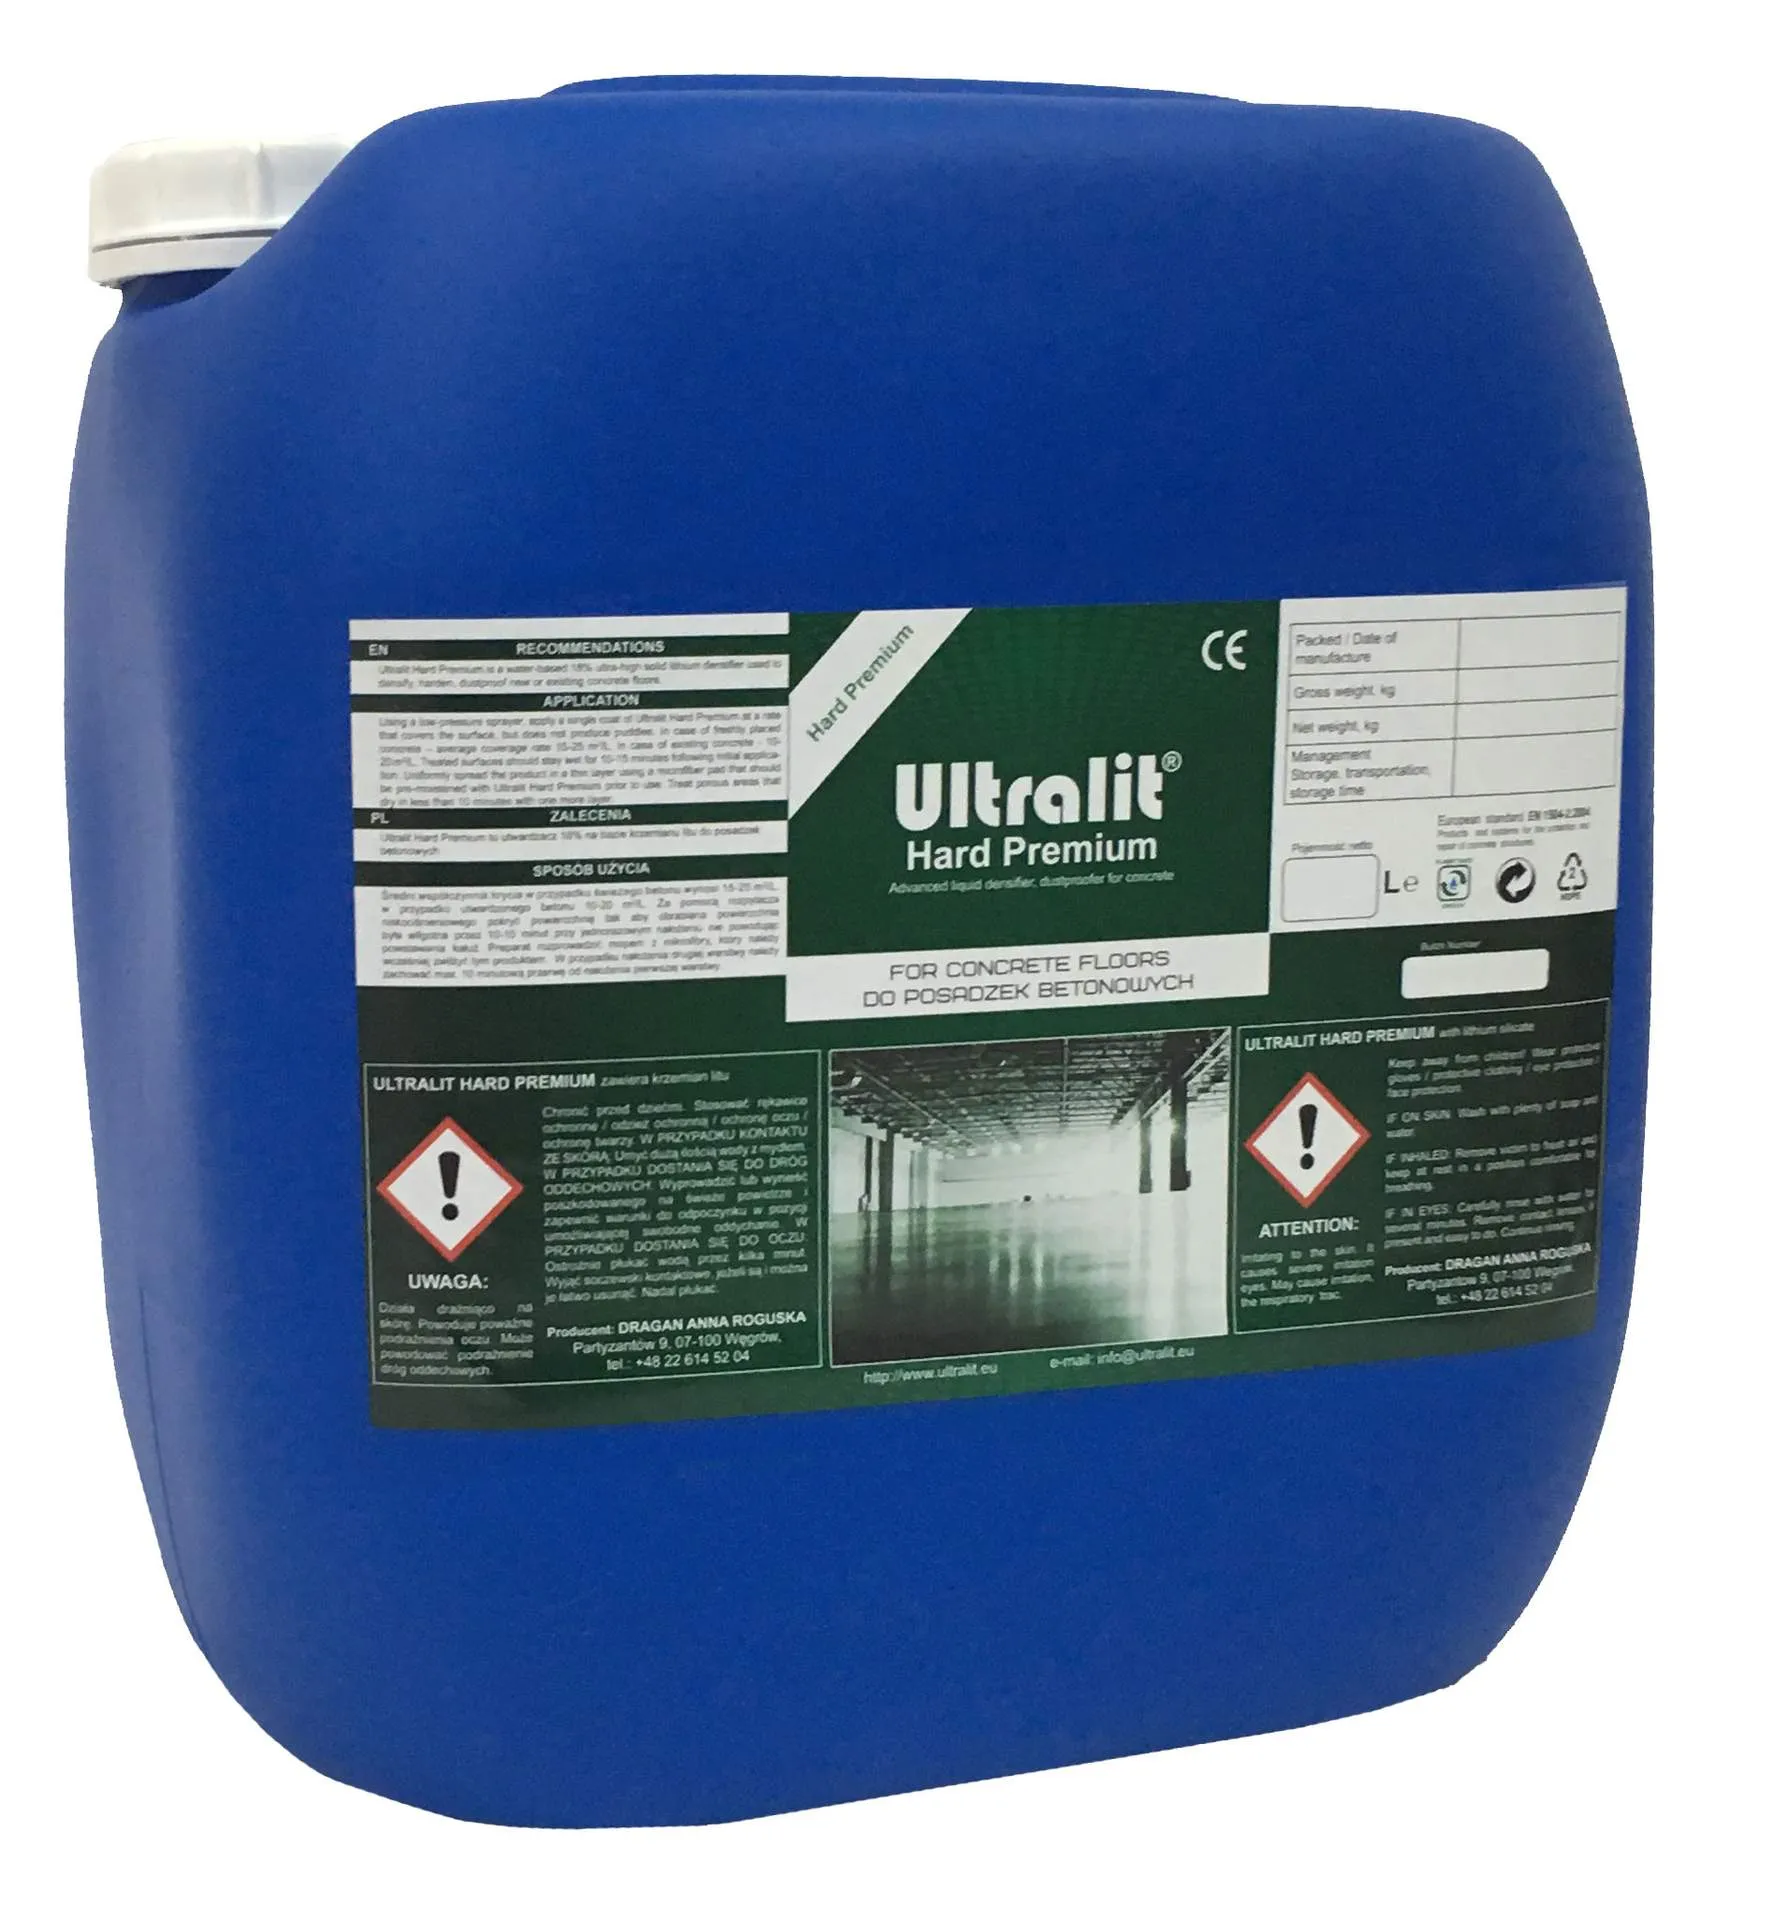
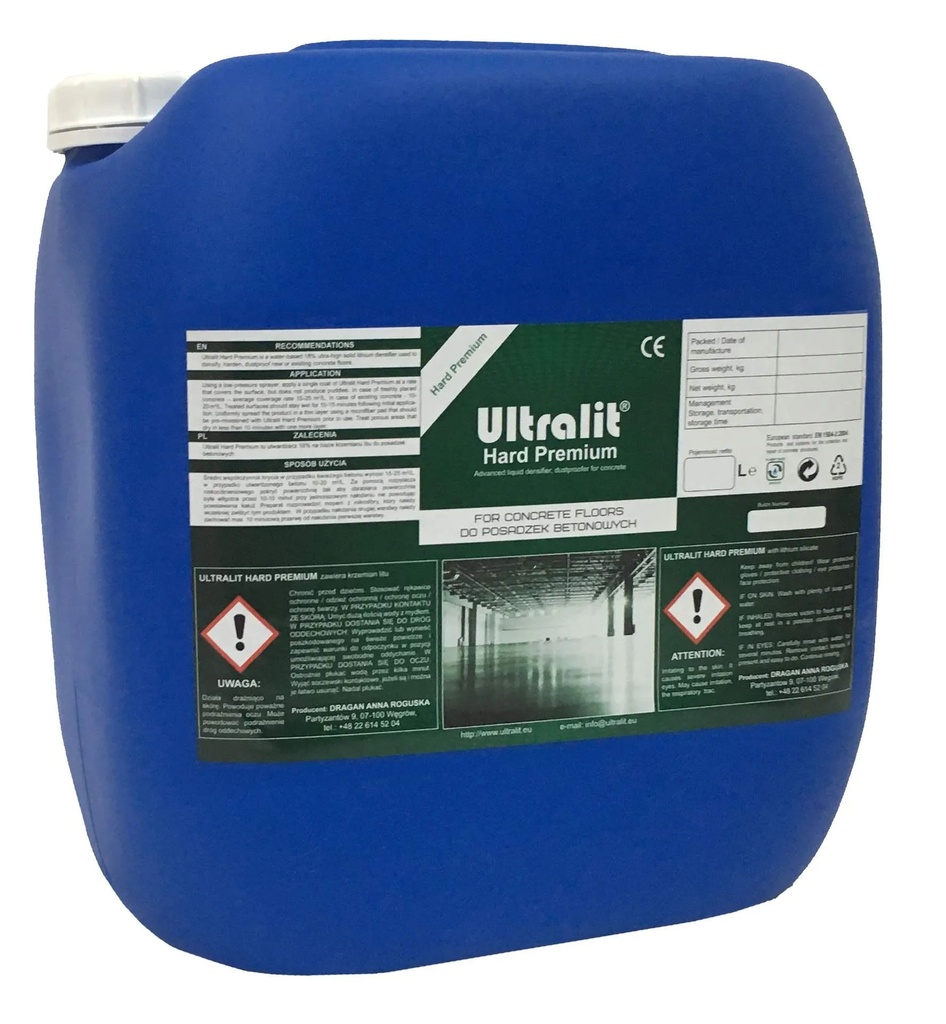
UltraLit Hard Premium is a lithium densifier. Its lithium reacts with the concrete to form calcium silicate hydrate in the top layer, which hardens the surface and cuts dusting.
It goes on part-way through the resin passes (next section), after the 120 or the 220 pass. Both are common, and both sit inside the TDS window of 100 to 400, before the high grits. Clean off the dust and let the floor dry before you spray.
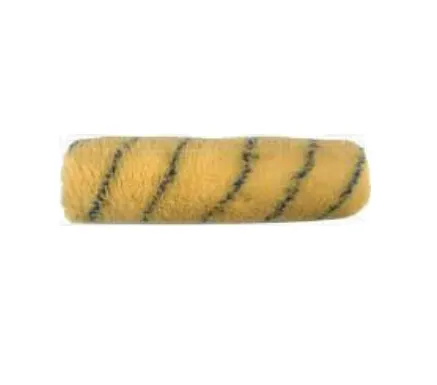
Spray a single coat with a low-pressure sprayer, enough to cover but never to puddle, and spread it with a microfibre pad wetted with the densifier. Keep the surface wet for 10 to 15 minutes. Patches that dry in under 10 minutes take one more layer.
Drying typically takes 1 hour at most; the full reaction can take up to two weeks. Apply only when it will stay above 2 degrees C for at least 4 hours. Wash any overspray off metal, glass, wood, paint and brick with clean water straight away.
Joints to be filled after densifying must be cleaned out first, with a saw or a grinder fitted with a wire wheel.
Polish with resin
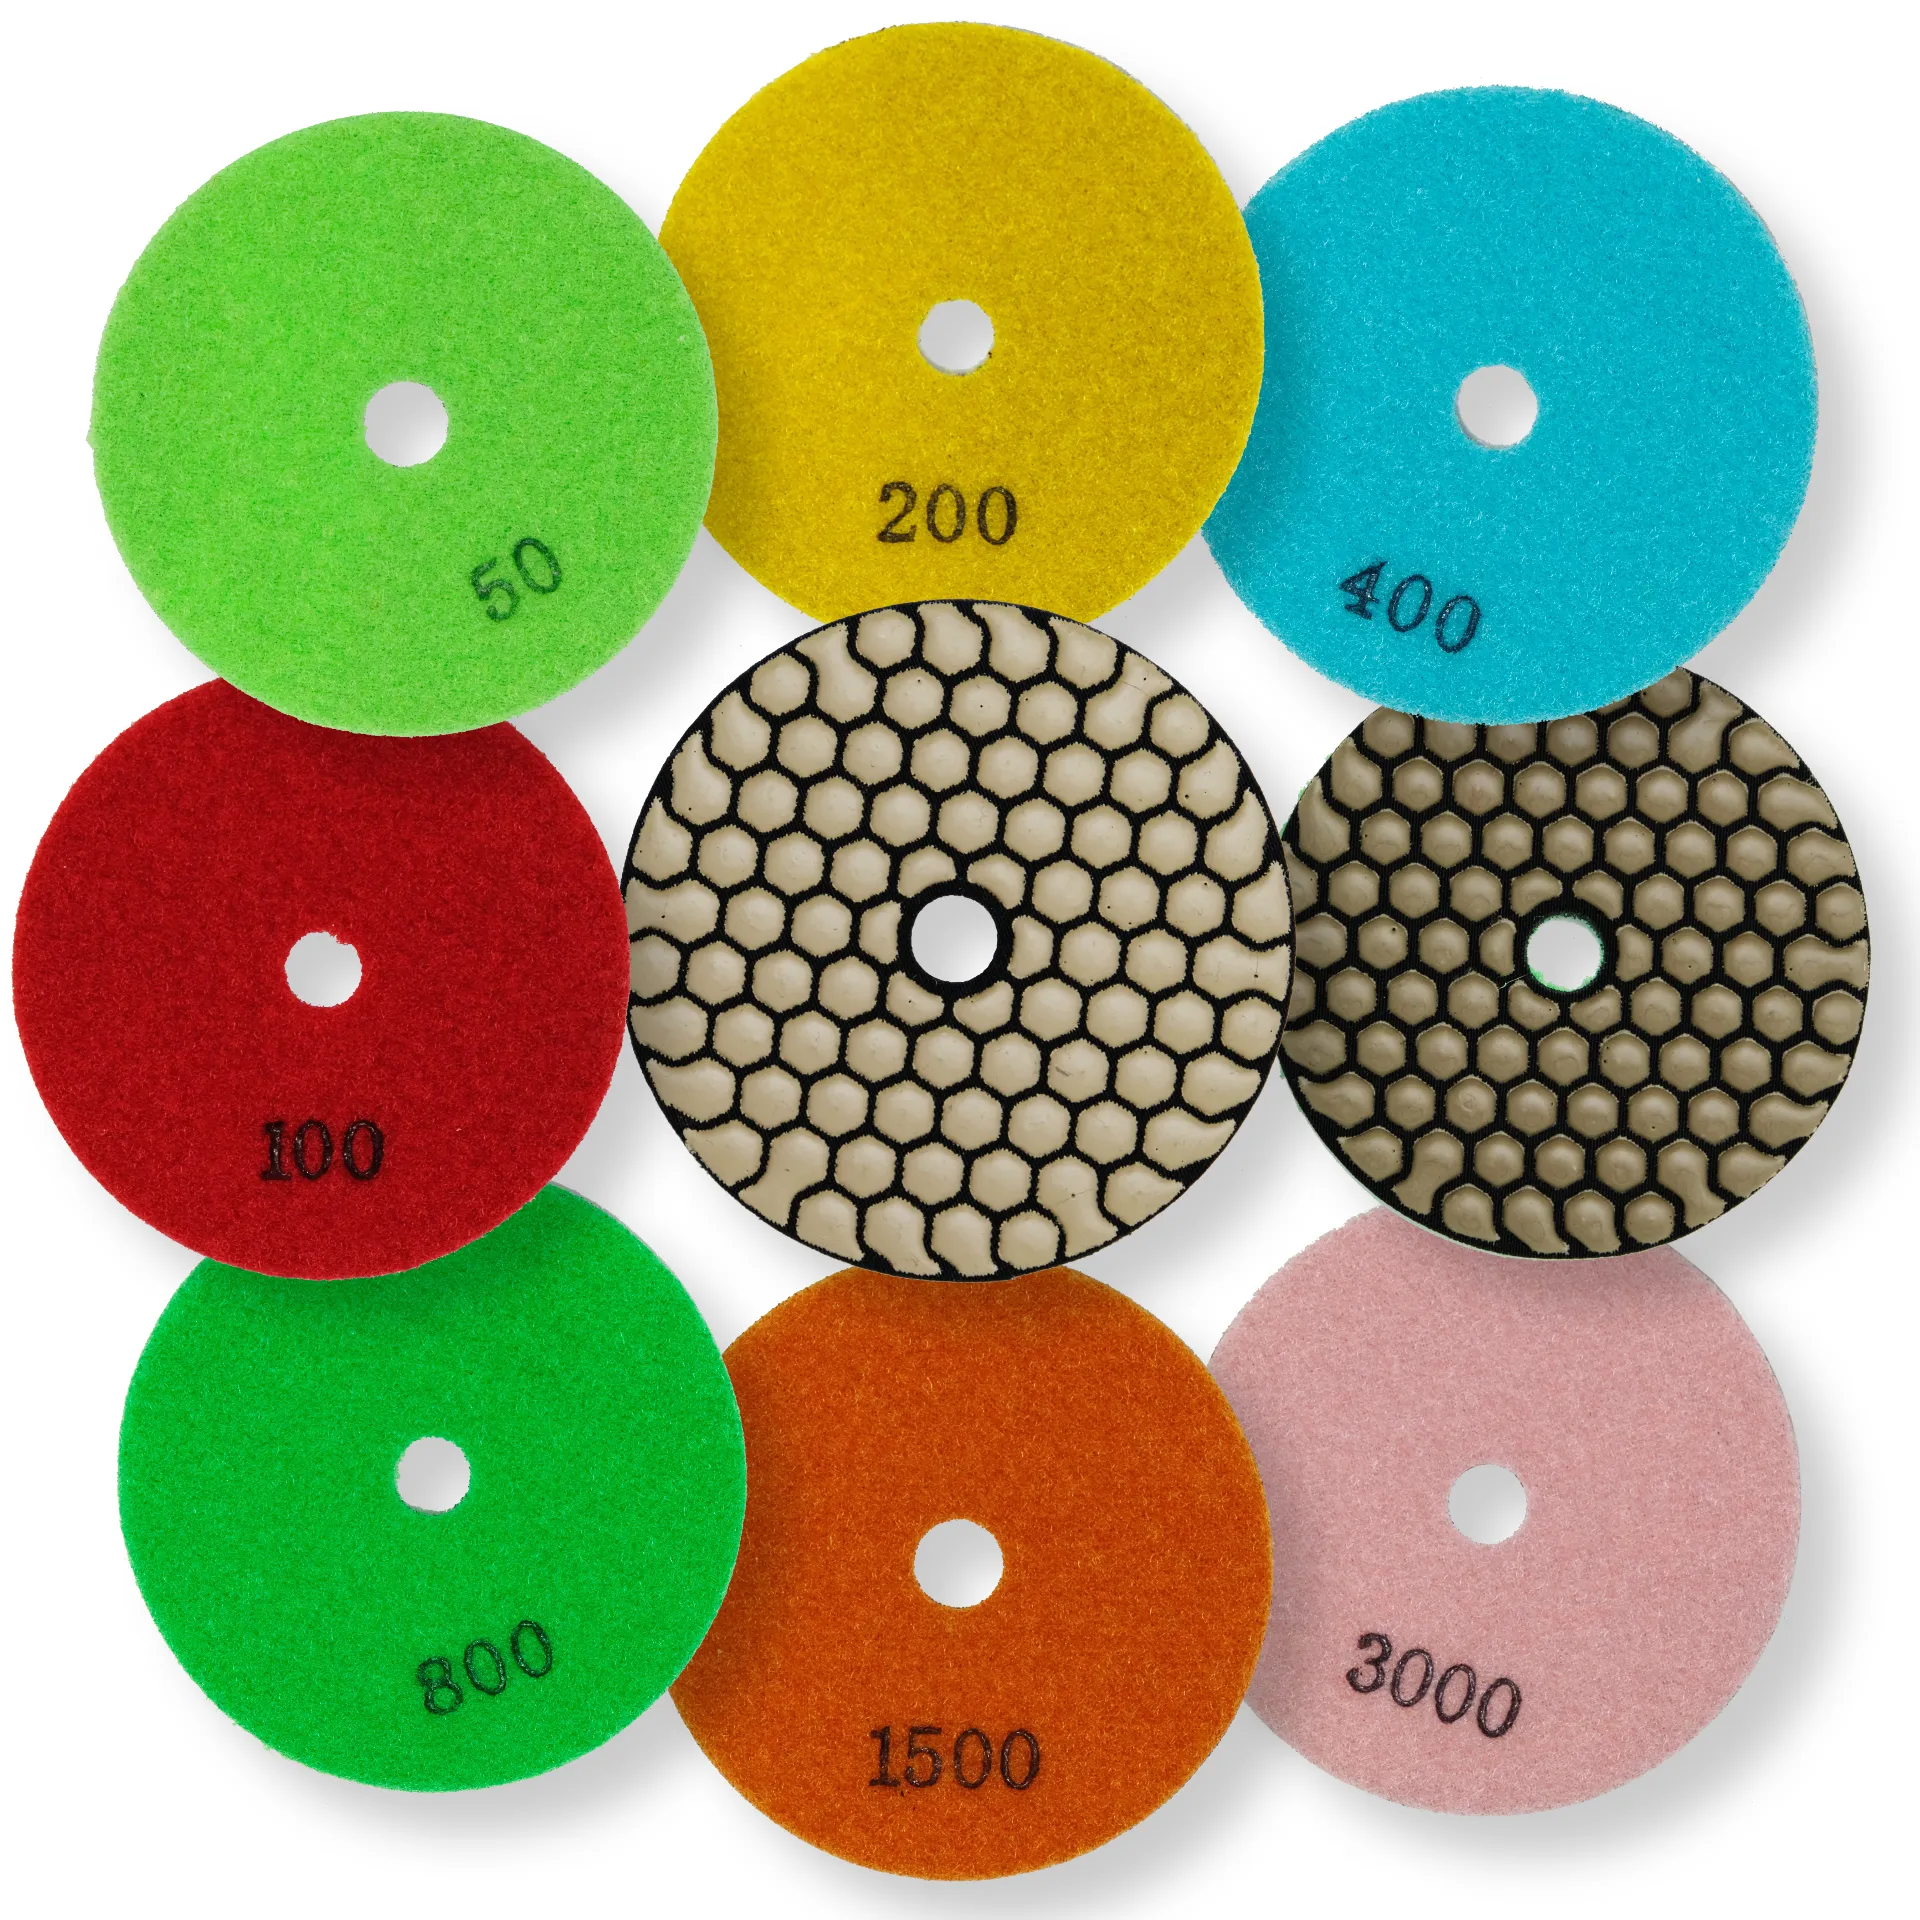
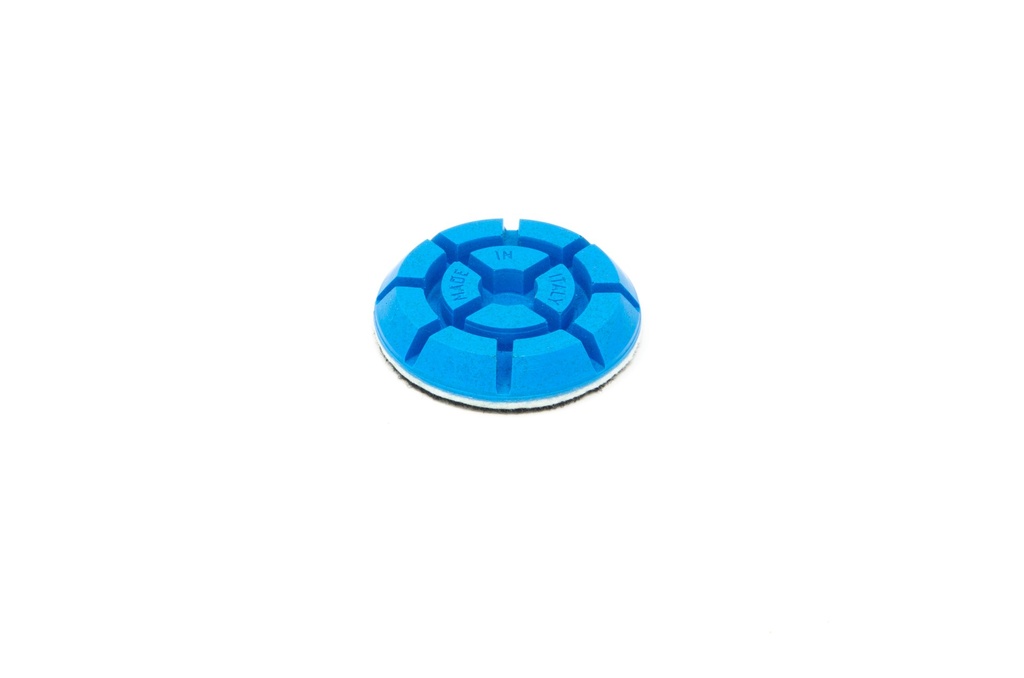
Swap the metal for 75 mm resin pucks on the same Easy Fit stations. Condor Green steps 60, 120, 220, 400, 800, 1800 and 3000; Jumper Universal adds 30 and ends at 3500.
Stop after the 120 or the 220 to densify (previous section). Climb one grit at a time. Skip a step and the fine puck cannot clear the coarse scratch; it polishes into the shine. Drop back a grit and climb evenly.
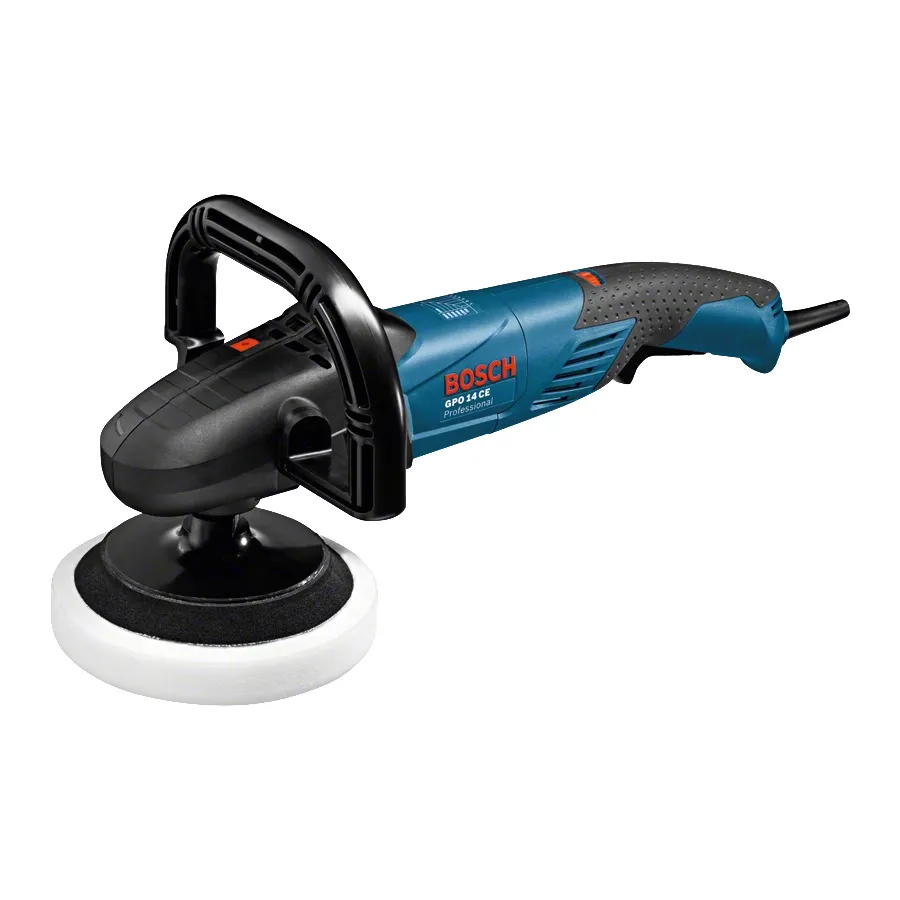
Keep the machine moving. Parked, or run dry too long, the resin glazes and stops refining. Edges and corners take a variable-speed hand-held polisher with 100 mm velcro pads, from Hand-held Polishers.
The last grit sets the finish. On the Condor Green ladder, 220 reads matt, 400 satin and 800 gloss; 1800 and 3000 are high gloss. For a glossy finish, UltraLit specifies progressively finer grits from 800 to 3000.
Seal and burnish
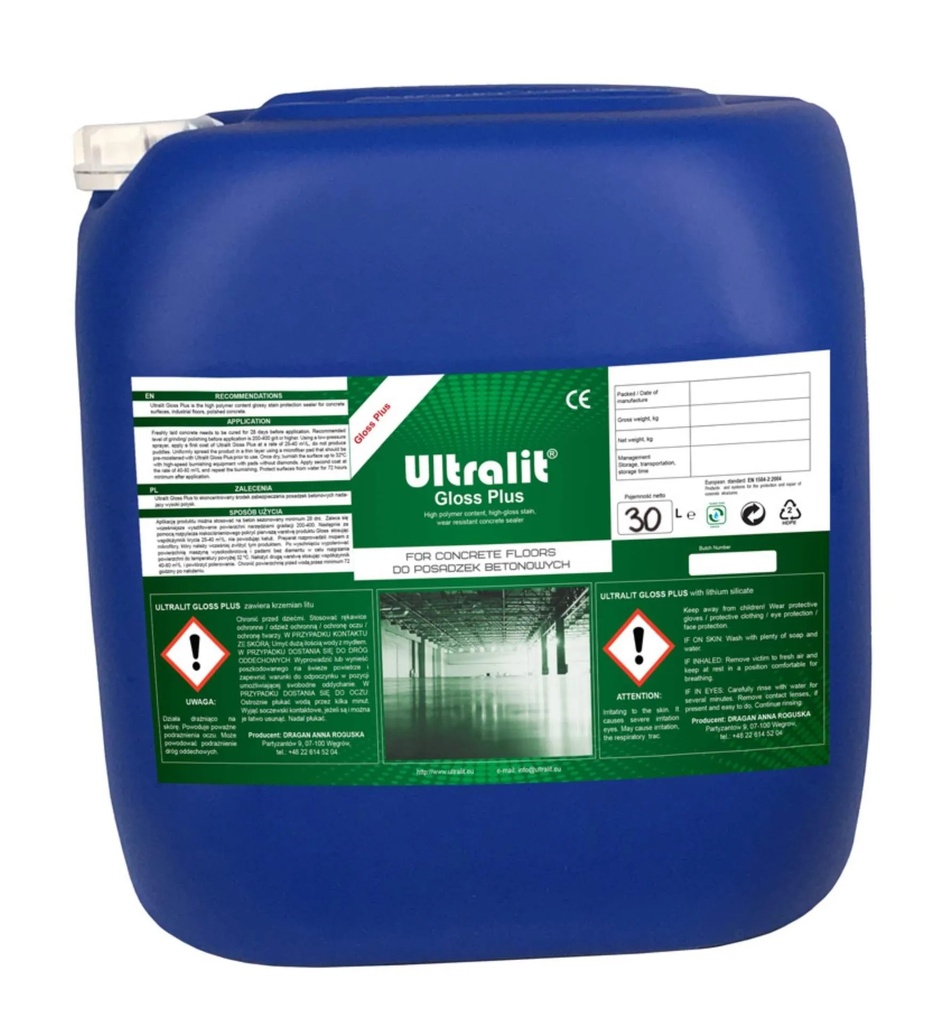
UltraLit Gloss Plus suits most polished floors: shops, offices, showrooms. UltraLit Gloss Shield is for floors that take punishment: warehouses, forklift routes, food areas. Both are for interior use; protect them from freezing.
The floor must be at 200 to 400 grit or finer, clean and dry, and new concrete must have cured for 28 days. Apply only when it will stay above 2 degrees C for at least 4 hours.
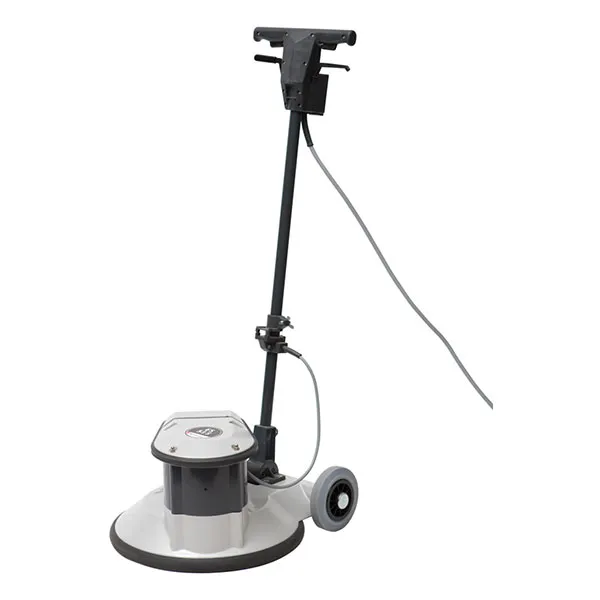
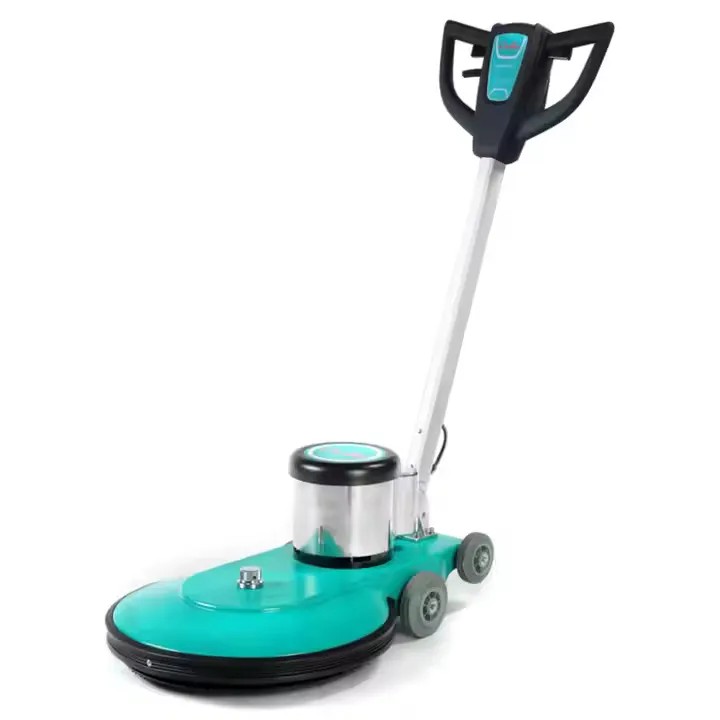
Spray a thin first coat with a low-pressure sprayer, no puddles, and spread it with a microfibre pad wetted with the sealer, at 25 to 40 square metres per litre. Once dry, burnish with a high-speed burnisher on pads without diamonds, such as the HY1500C burnisher. The pads must heat the floor to 32 degrees C.
Apply a second coat at 40 to 80 square metres per litre and burnish again, and a third at the same rate if needed. The floor is ready for traffic once dry, typically within 1 hour. Keep water off for at least 72 hours; full water and stain resistance takes 7 days.
Aftercare
Aftercare is light. A dry dust mop or a microfibre pad keeps the shine, and a microfibre mop and water is all a wash needs. There is no stripping and no build-up: when you want a fresh coat of sealer, it goes straight on.
Two things to know at the start. The first wet clean waits 7 days, until the sealer reaches full water and stain resistance. Acidic cleaners (pH below 7) are out, and spills are best wiped up when you see them, as some acids stain if left.
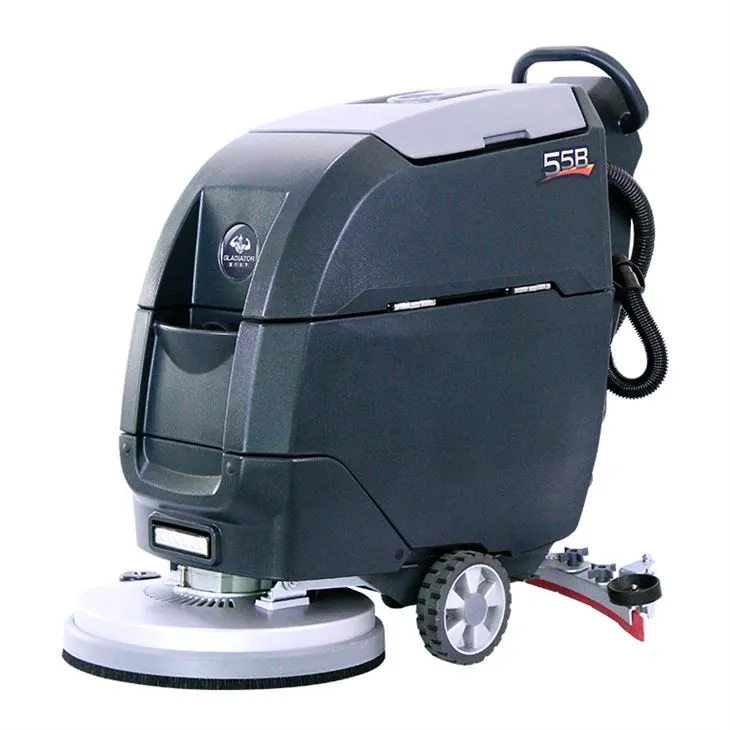
A cleaning machine is optional, for a deep clean. An auto scrubber improves the shine, and SupraShine diamond pads with water keep the gloss: wet on a scrubber or single-disc machine, just damp from 800 grit up on a burnisher.
Concrete surface profile (CSP)
ICRI Technical Guideline 310.2R-2013 grades prepared concrete from CSP 1, minimal roughness, to CSP 10, very rough. ICRI Table 7.2 lists grinding at CSP 1 to 2.
On ICRI's reference chips, CSP 1 is acid-etched and near smooth, CSP 2 is ground, the profile a metal-bond grind leaves, and CSP 3 is a light shot blast, past a grinder's reach.
If the floor takes a coating instead of a polish, follow the CSP on the coating's datasheet. ICRI's bands are CSP 1 to 2 for sealers up to 76 microns thick and CSP 3 to 5 for high-build coatings of 0.25 to 1.0 mm, which is shot blaster or scarifier work.
Time and cost: a 100 square metre example
Irish contractors quote about EUR 90 to 150 per square metre for a polished floor, so EUR 9,000 to 15,000 for 100 square metres. A full kit from us starts at about EUR 2,300 inc VAT. Doing it yourself can save up to about EUR 12,700 on 100 square metres. Contractor rates are from PMAC and Selfbuild Ireland; the kit figure is Concrete Care's, 2026-10-22.
On 100 square metres, allow up to a week across all the grits. Add the waits: the densifier and each sealer coat dry within about 1 hour, no water goes on for 72 hours, and full water and stain resistance takes 7 days.
Which machine for the floor
Pick the machine by the floor, then check the power on site. Three-phase is always preferred on these jobs, for consistent performance from the machine. Every dry grind pairs with an M-class dust extractor.
Two-head machines, such as the Xingyi GX 580, are not recommended for the full polish process.
| Floor | Machine class | From our range | Working width | Phase |
|---|---|---|---|---|
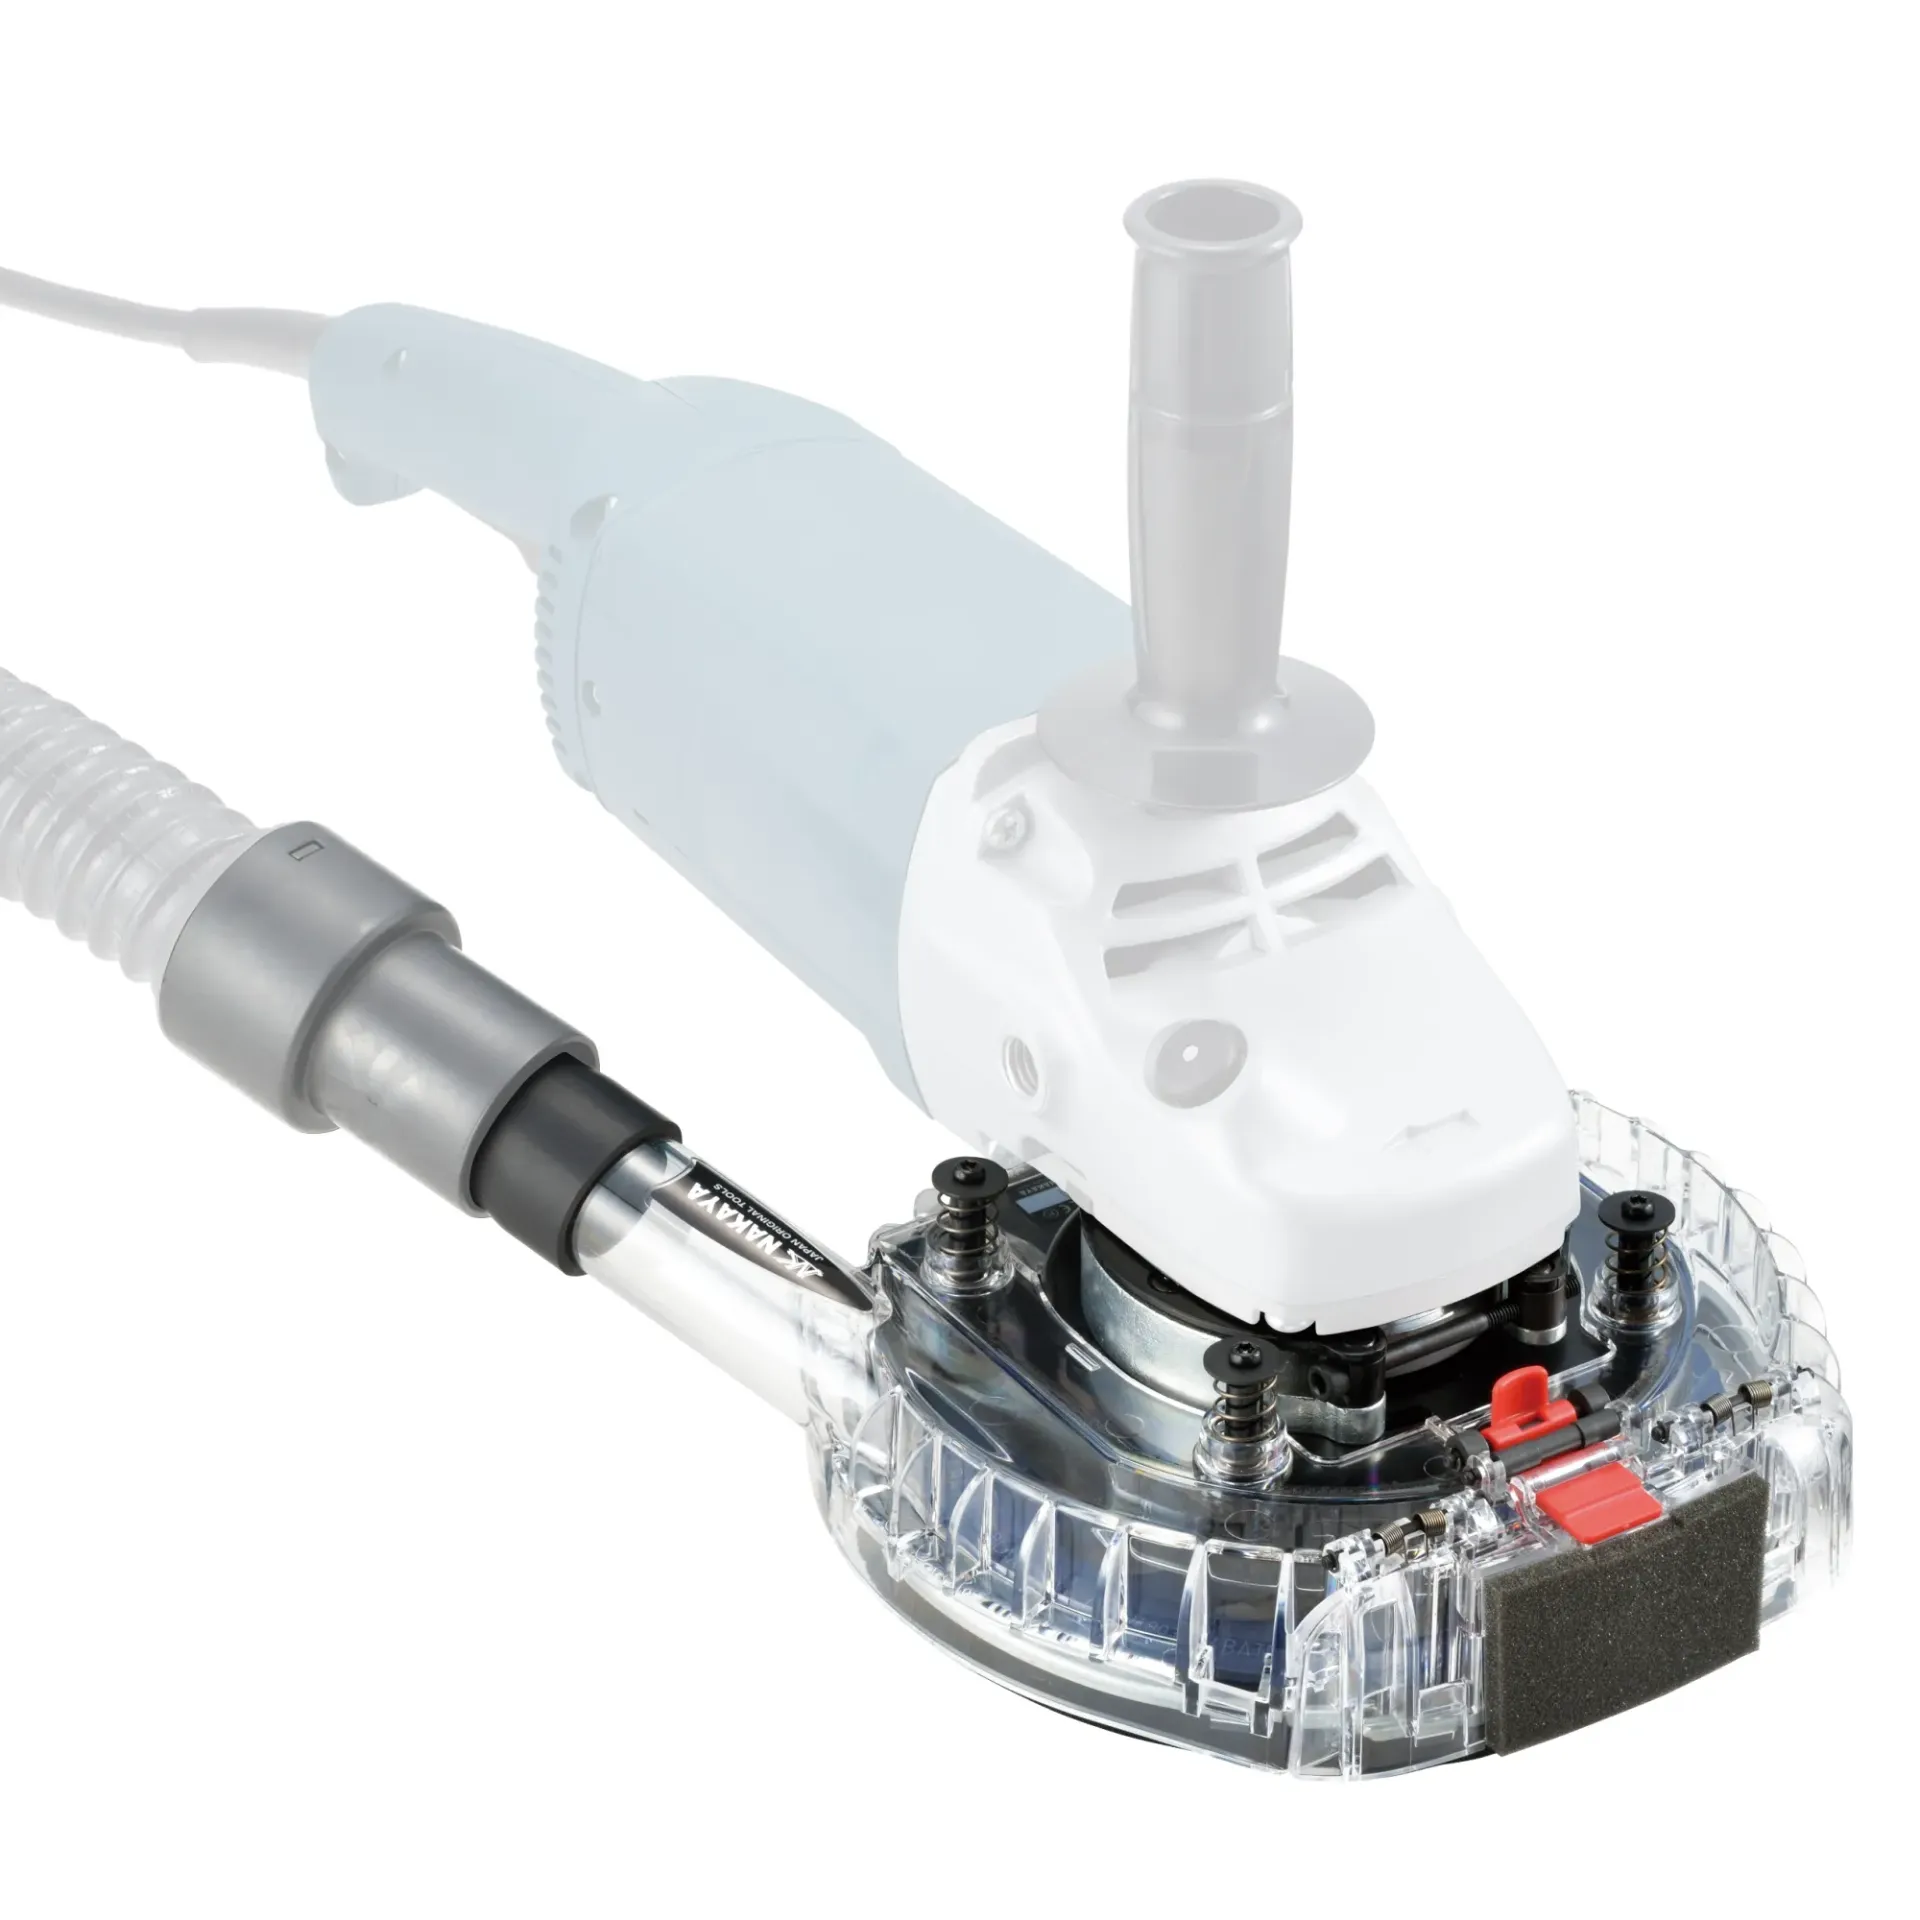
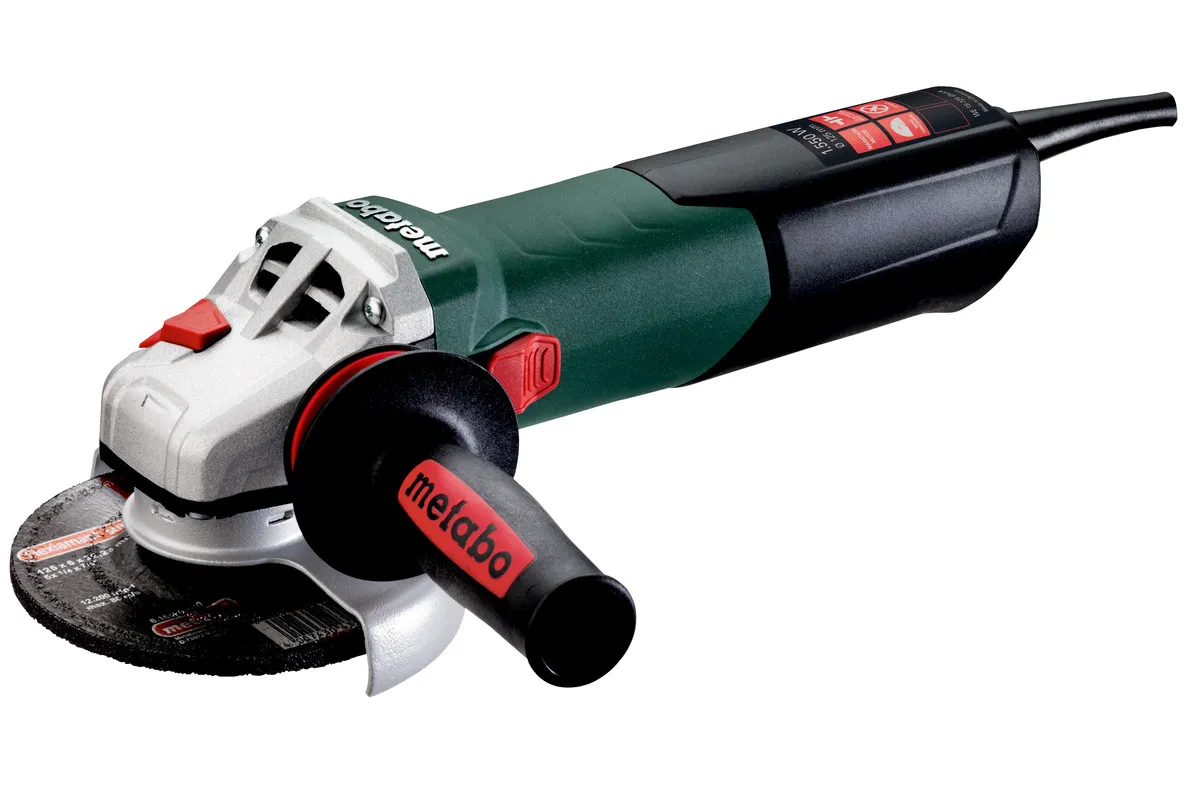
| Edges, corners, stairs | hand-held units | Metabo 125 mm angle grinder (WE 15-125 Quick or WEV 11-125 Quick) with a Nakaya 125 mm dust cowl; Metabo 180 mm angle grinder with a Nakaya 180 mm dust cowl; a variable-speed polisher from Hand-held Polishers | 125 or 180 mm disc | single-phase, 110 V or 230 V |
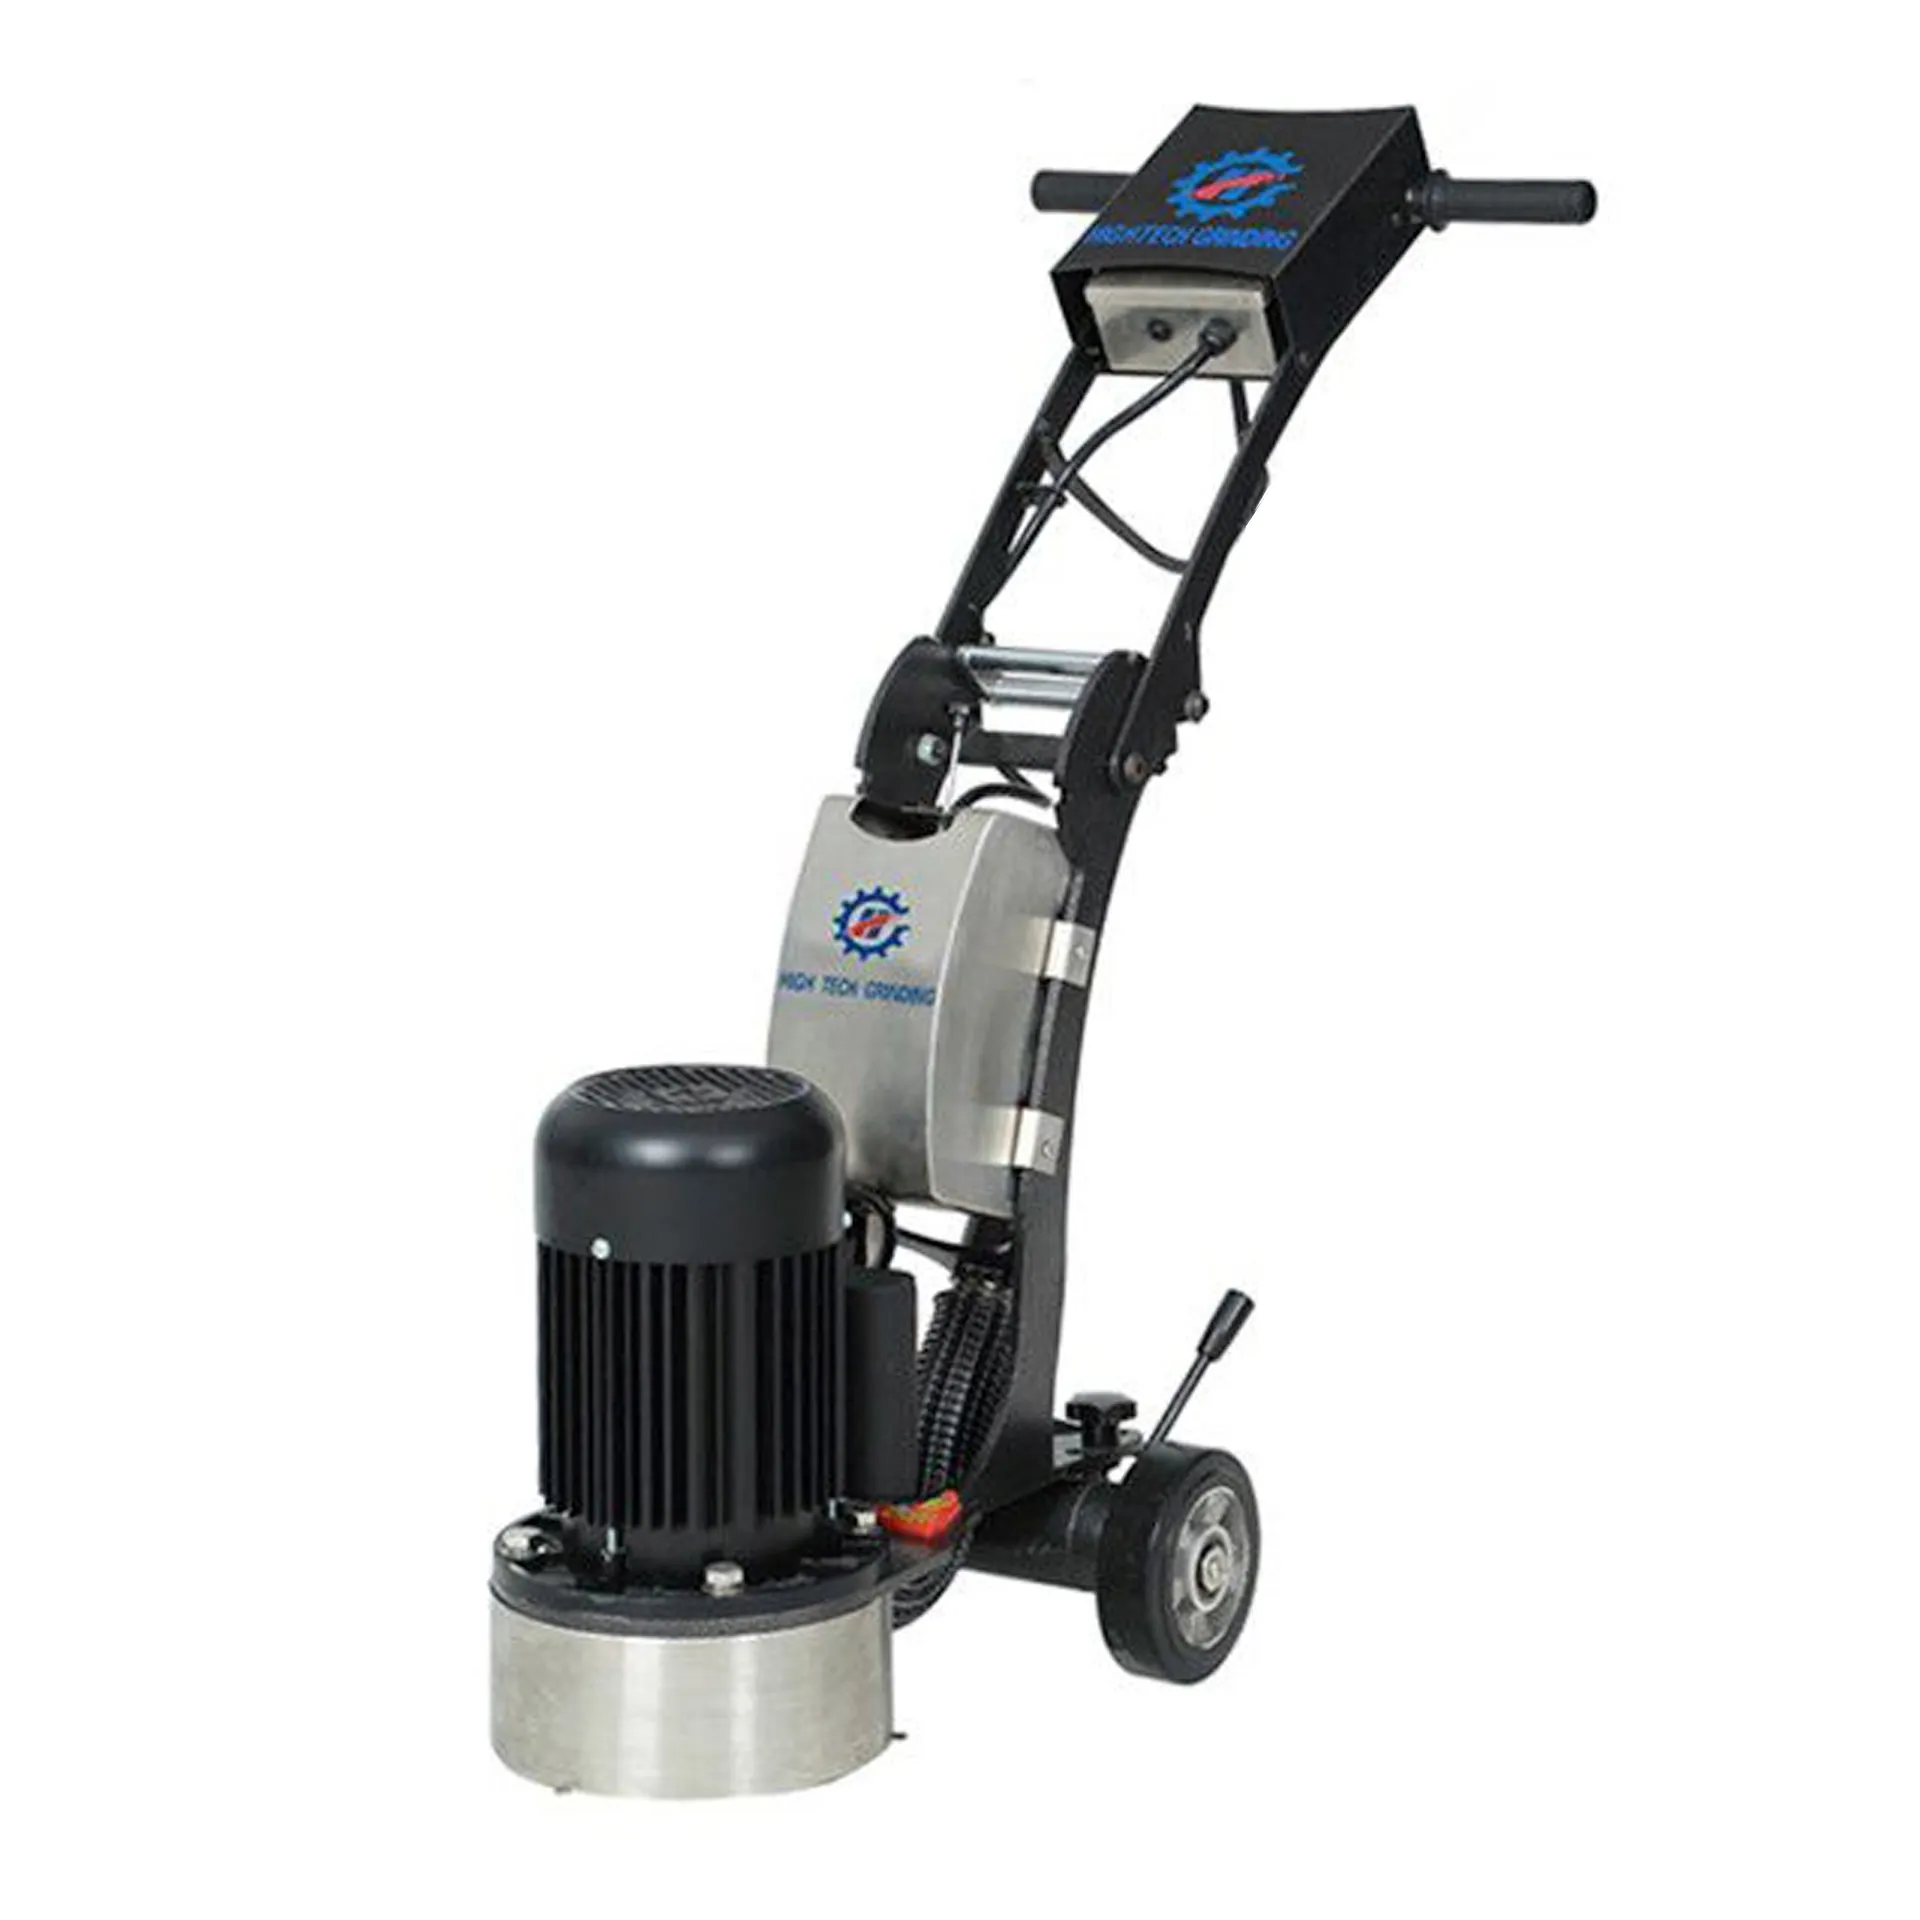
| Small rooms, margins | single-disc grinder | HTG 250D, HTG 250VS, Xingyi GX 250, CG250 | 250 mm | single-phase; CG250 three-phase |
| Domestic: garages, houses | planetary, 3 or 4 heads | HTG 460, 230 V; HTG 600, 230 V or 400 V | 456 to 600 mm | HTG 460 single-phase; HTG 600 single-phase or three-phase |
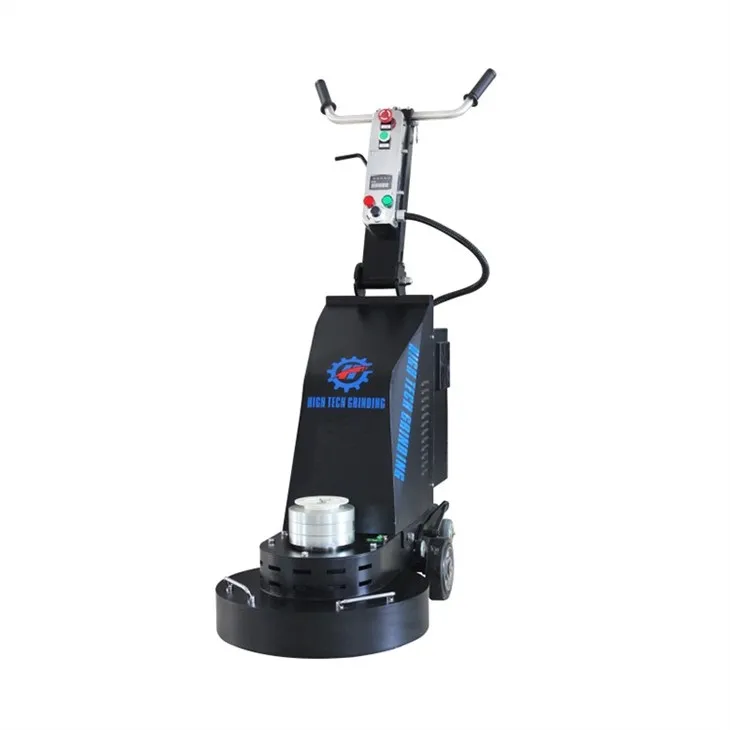
| Warehouses, retail slabs, car parks | planetary, 3 or 4 heads | HTG 550 Ultra, HTG 680 SP, Xingyi GX 720, Xingyi 800LE+ | 550 to 800 mm | three-phase; HTG 550 Ultra also 230 V |
Buy or hire, and the print version
For a one-off floor, grinders, burnishers and M-class extractors are on our hire fleet. Ring the counter on 01 889 9000 and we will talk it through.
The same steps fit on one double-sided A4 sheet for the site: download the print version (PDF).
Skip a grit,keep the scratch.